Traveling the world opens our eyes to new cultures, experiences, and memories that we cherish long after we’ve returned home. Many of us collect souvenirs during our journeys – tangible reminders of the places we’ve been and the adventures we’ve had. But all too often, these precious mementos end up tucked away in drawers or boxes, rarely seen and seldom appreciated.
What if you could transform your living space into a vibrant gallery of your travels? Imagine walking through your home and being instantly transported back to the streets of Paris, the beaches of Bali, or the mountains of Peru. By creatively displaying your travel souvenirs on your walls, you can do just that.
This article will explore 30 innovative and stylish ways to showcase your travel treasures. From simple DIY projects to more elaborate displays, we’ll cover ideas that suit various tastes, budgets, and skill levels. Whether you’re a seasoned globetrotter with a vast collection of souvenirs or a budding traveler just starting to amass mementos, you’ll find inspiration to turn your walls into a personal travel museum.
These ideas aren’t just about decoration – they’re about storytelling. Each item you display has a tale behind it, a moment in time captured in physical form. By bringing these souvenirs out of storage and onto your walls, you’re not only creating a visually appealing space but also surrounding yourself with reminders of your adventures and the personal growth that comes with exploring the world.
Creative Ways to Display Travel Souvenirs on Walls
So, let’s embark on this creative journey together. Get ready to dust off those souvenirs, grab your toolkit, and let your imagination soar as we explore 30 fantastic ways to display your travel memories on your walls.
1. The Classic Shadow Box Display
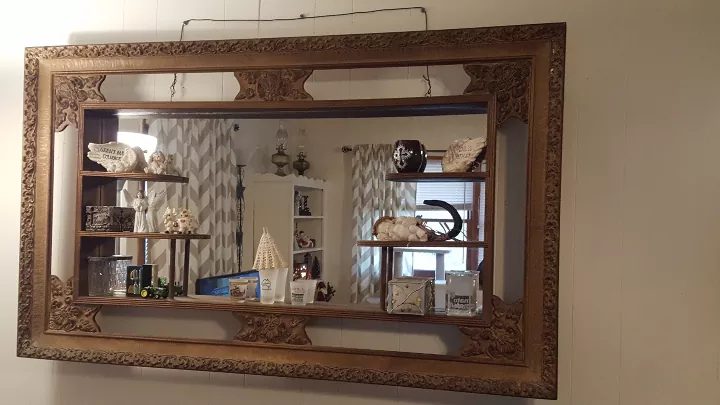
One of the most versatile and visually appealing ways to display smaller travel souvenirs is through the use of shadow boxes. These three-dimensional display cases allow you to create miniature scenes or organized collections of items from your travels.
To create a shadow box display, start by selecting a theme. This could be based on a specific trip, a type of souvenir (like ticket stubs or small trinkets), or even a color scheme. Choose a shadow box that complements your decor – you can find them in various sizes, shapes, and finishes at most craft stores.
Arrange your items within the box, playing with depth and composition. You might want to create a background using maps, postcards, or colored paper that relates to your travel destination. Use small pins, double-sided tape, or museum putty to secure items in place.
Consider adding labels or small captions to provide context for your display. You could include the name of the location, the date of your visit, or a brief story about the items. This adds a personal touch and helps you and your guests connect with the memories on display.
Shadow boxes work particularly well for displaying a mix of flat and three-dimensional items. For example, you could combine a train ticket, a small figurine, and a pressed flower all from the same trip. The result is a compact yet impactful display that tells a story of your travels.
2. Create a Map Pinboard

A large world map can serve as both a striking visual element and an interactive display for your travel souvenirs. This idea combines the fun of tracking your travels with the opportunity to showcase small mementos from each destination.
Start by selecting a world map that fits your decor style. Options range from vintage-style paper maps to modern, minimalist designs printed on cork boards. You can even find maps that allow you to scratch off visited countries, adding another layer of personalization to your display.
Mount your chosen map securely on the wall. Then, use colorful push pins or small flags to mark the locations you’ve visited. For each pin, attach a small souvenir or photo. This could be a ticket stub, a coin, a small shell, or a miniature snapshot.
To add more detail to your map pinboard, consider using different colored pins to represent different types of trips (e.g., family vacations, solo adventures, business trips). You could also use string or ribbon to connect pins, illustrating the route of a particular journey.
This display method not only showcases your souvenirs but also serves as a visual representation of your travel history. It’s a great conversation starter and can inspire future travel plans as you look at the yet-unexplored areas of the map.
3. Design a Gallery Wall of Travel Photos
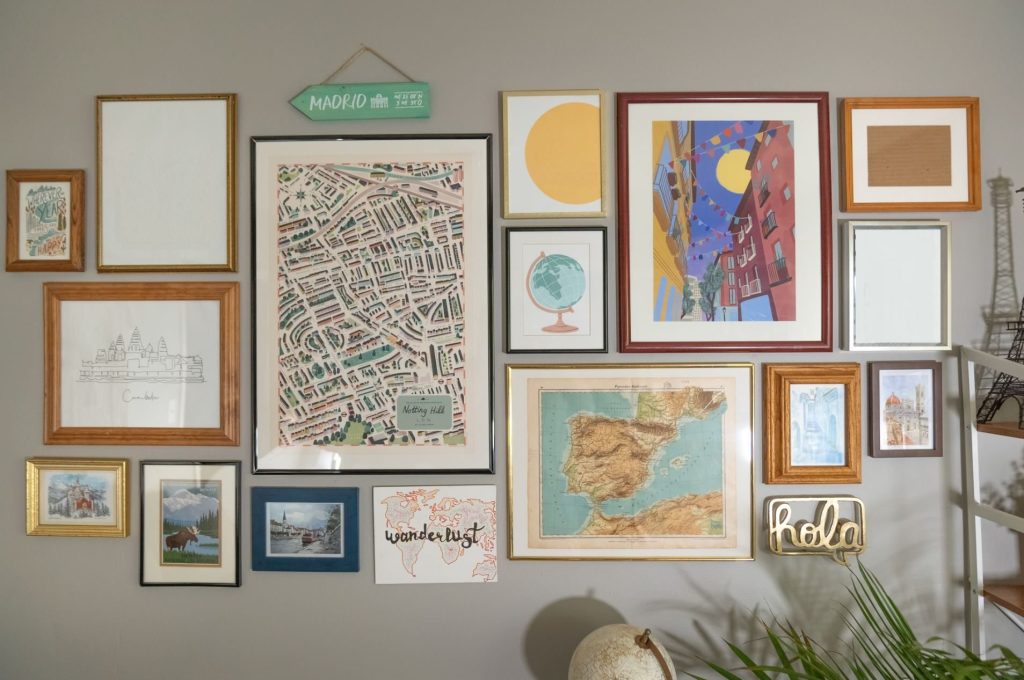
While not technically souvenirs, travel photos are among the most meaningful mementos we bring back from our journeys. Creating a gallery wall of your best travel shots is a fantastic way to relive your adventures daily and add a personal touch to your home decor.
To start, select a variety of photos that represent different aspects of your travels. Mix landscape shots with portraits, close-ups of local cuisine, and candid moments. Aim for a diverse collection that tells a story of your experiences.
When it comes to framing, you have several options. You could go for a uniform look with identical frames, or mix and match frame styles for a more eclectic feel. Consider using frames in colors that complement your existing decor or that reflect the tones in your photos.
Arrangement is key to a successful gallery wall. Before hanging anything, lay out your framed photos on the floor and experiment with different configurations. A good rule of thumb is to start with the largest piece in the center and work your way outwards. Leave equal space between frames for a cohesive look.
To add interest to your gallery wall, intersperse your photos with other travel-related items. This could include framed maps of places you’ve visited, postcards, or even small souvenirs mounted in shadow boxes. The result is a personalized and visually striking display that brings your travel memories to life.
4. Construct a Souvenir Shelf Display
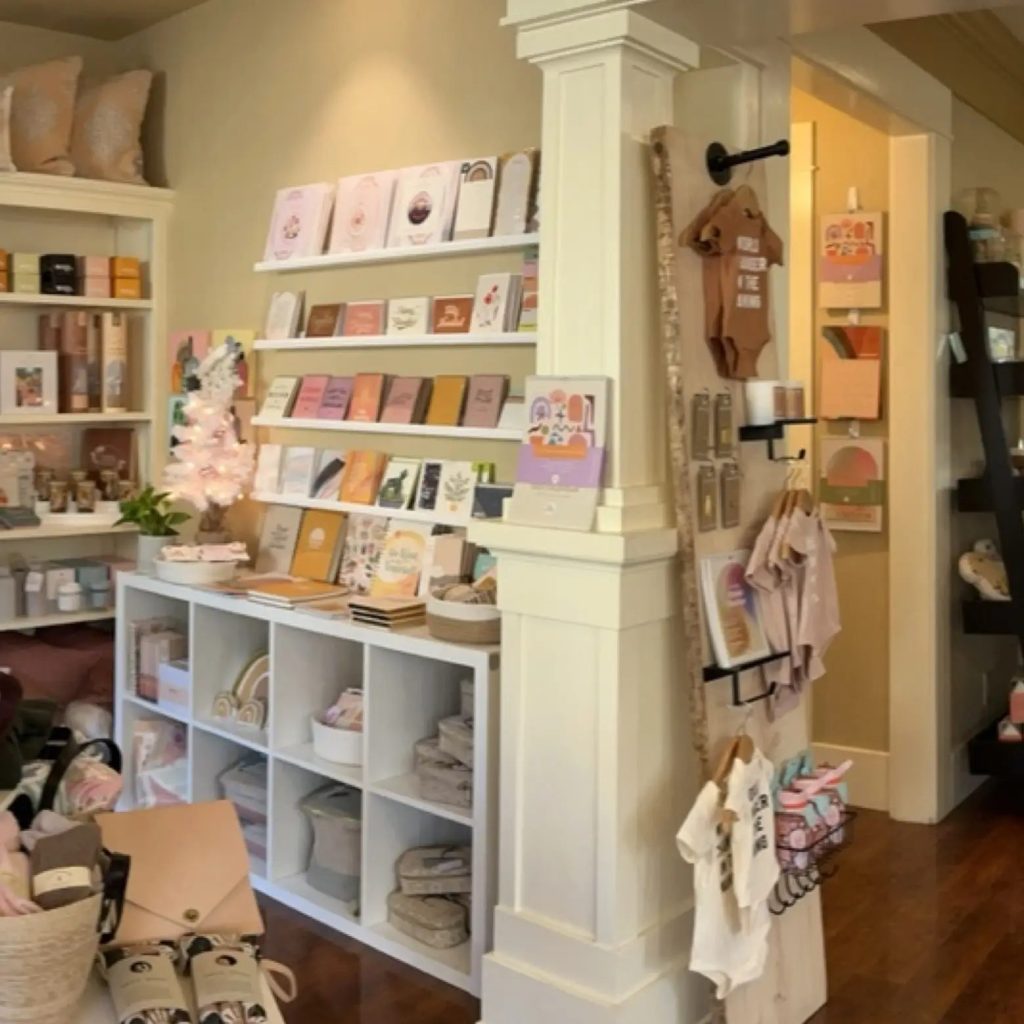
For those who prefer a more three-dimensional approach, creating a dedicated shelf or series of shelves for your travel souvenirs can be an excellent solution. This method allows you to showcase larger items that might not work well in a shadow box or on a pinboard.
Start by selecting shelves that complement your room’s decor. Floating shelves can create a modern, minimalist look, while rustic wooden shelves might better suit a more traditional or bohemian style. Consider using shelves of varying lengths to add visual interest to your display.
Arrange your souvenirs on the shelves, playing with height and depth. Place taller items towards the back and smaller ones in front. Group items by trip, type, or color for a cohesive look. Don’t be afraid to layer items – for example, you could lean a postcard against a larger souvenir.
To add context to your display, consider incorporating small labels or cards that provide information about each item. You could include the location where you acquired the souvenir, the date, or a brief anecdote about its significance.
Remember to leave some empty space on your shelves. This prevents the display from looking cluttered and allows each item to stand out. You can also use this space to rotate in new souvenirs as you acquire them on future trips.
A shelf display is particularly effective for showcasing a diverse collection of souvenirs. It can accommodate everything from small trinkets to larger handicrafts, creating a dynamic and evolving exhibition of your travels.
5. Create a Travel-Themed Collage
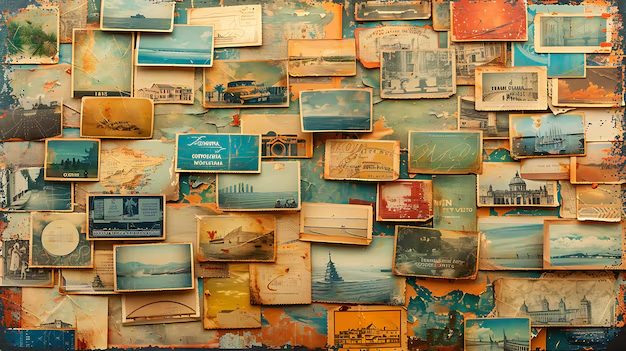
For those who love a more eclectic and artistic approach, creating a travel-themed collage can be a fun and visually striking way to display a variety of smaller souvenirs and mementos.
Start with a large canvas, corkboard, or even a section of wall as your base. Then, gather an assortment of flat or nearly flat items from your travels. This could include ticket stubs, postcards, currency, maps, brochures, stamps, pressed flowers, or even small pieces of fabric or gift wrap from different countries.
Arrange these items on your chosen surface, overlapping them to create an interesting composition. You might want to organize them by color, trip, or in a way that tells a story of your travels. Use decoupage glue or a strong adhesive to secure the items in place.
For added dimension, consider incorporating some small 3D elements into your collage. This could be bottle caps, small shells, or even miniature souvenirs glued onto the surface. Just be mindful of the overall weight if you’re planning to hang the collage.
To protect your collage and give it a finished look, consider covering it with a layer of clear acrylic or resin. This will also help preserve delicate items like ticket stubs or currency that might otherwise fade or deteriorate over time.
A travel collage is not only a beautiful way to display your souvenirs, but it’s also a creative process that allows you to relive your travel memories as you put it together. The result is a unique piece of art that encapsulates your adventures in a visually compelling way.
6. Design a Souvenir Plate Wall
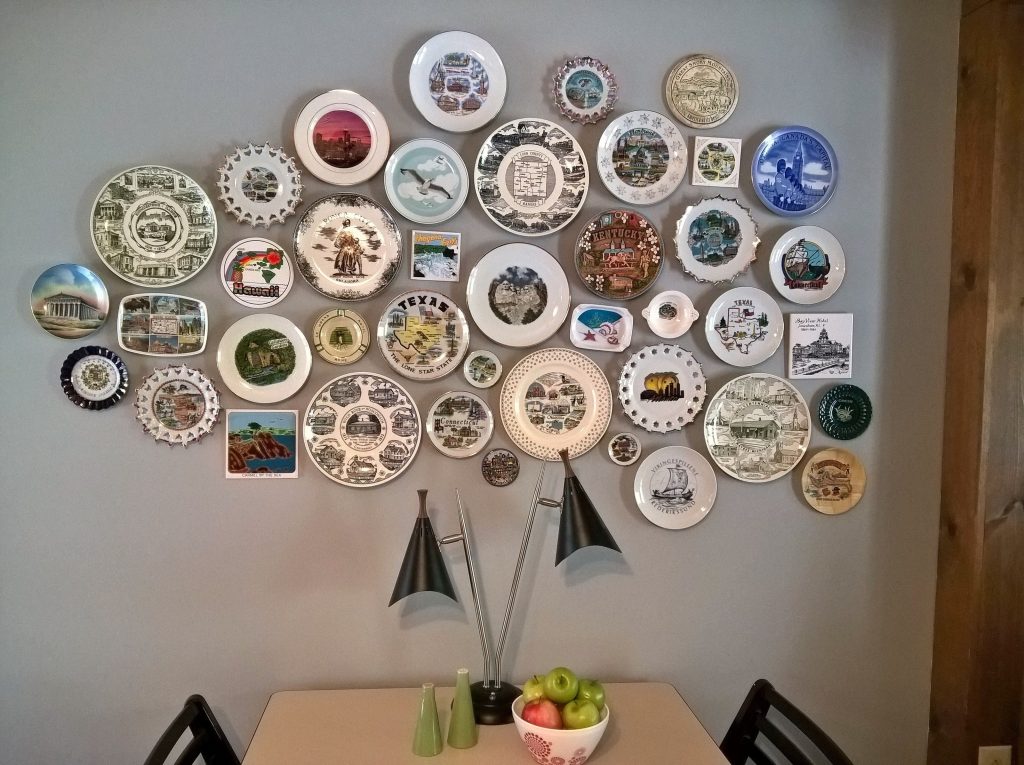
Many travelers collect decorative plates as souvenirs, and these can make for a stunning wall display. A plate wall adds texture and interest to your decor while showcasing your travels in a unique way.
To create a plate wall, start by gathering your collection of souvenir plates. These could be traditional ceramic plates, modern design pieces, or even quirky plastic plates – the key is variety in size, color, and design.
Before hanging, plan your arrangement. Lay out your plates on the floor and experiment with different configurations. A symmetrical arrangement can create a formal look, while a more random arrangement feels casual and eclectic. Consider mixing in other circular items like small mirrors or framed photos to add variety.
When it comes to hanging, there are several methods. Plate hangers, which clip onto the back of the plate, are a popular and secure option. For a more invisible solution, adhesive disc hangers can be attached to the back of the plate. Always ensure your hanging method is appropriate for the weight and material of each plate.
To add context to your plate wall, consider creating small labels with the name of the location and date of purchase for each plate. These can be discreetly placed near each plate or grouped together in a legend-style display nearby.
A plate wall is not only visually appealing but also a great conversation starter. Each plate tells a story of a place you’ve visited, making your wall a colorful map of your travels.
7. Craft a Travel Memory Clothesline
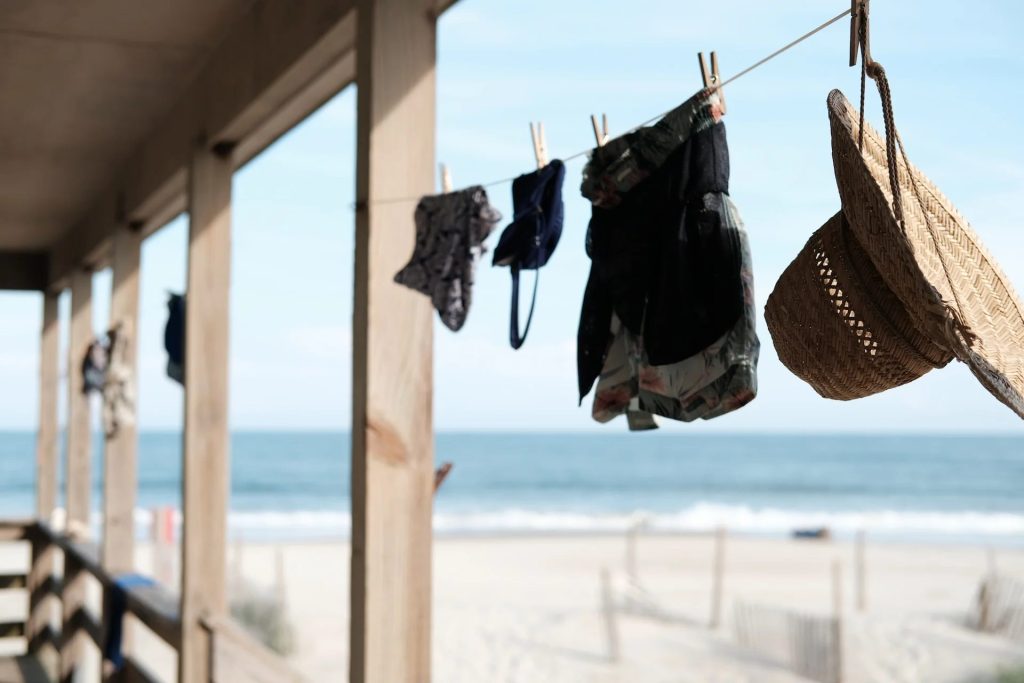
For a whimsical and easily changeable display, consider creating a travel memory clothesline. This method works particularly well for flat souvenirs like postcards, photos, and ticket stubs, and it allows you to easily update your display as you acquire new mementos.
Start by installing two hooks or small rods on your wall, spaced as far apart as you’d like your display to be. Then, string a piece of twine, thin rope, or decorative ribbon between the hooks. You can create multiple rows for a fuller display.
Use small clothespins or decorative clips to hang your travel mementos along the line. Mix and match different types of souvenirs – postcards, photos, currency, small flags, or even lightweight 3D objects like keychains or small ornaments.
One of the beauties of this display method is its flexibility. You can easily rearrange items, add new ones, or switch out the entire display to focus on a particular trip or theme. This makes it perfect for those who travel frequently and are constantly adding to their souvenir collection.
To add an extra decorative touch, consider using fairy lights along with or instead of the twine. This creates a warm, inviting glow that highlights your travel memories.
The travel memory clothesline is not only a charming way to display your souvenirs, but it’s also a great option for renters or those who prefer not to make too many holes in their walls. It’s easy to install, easy to change, and creates a playful, personal touch to any room.
8. Create a Magnetic Travel Map
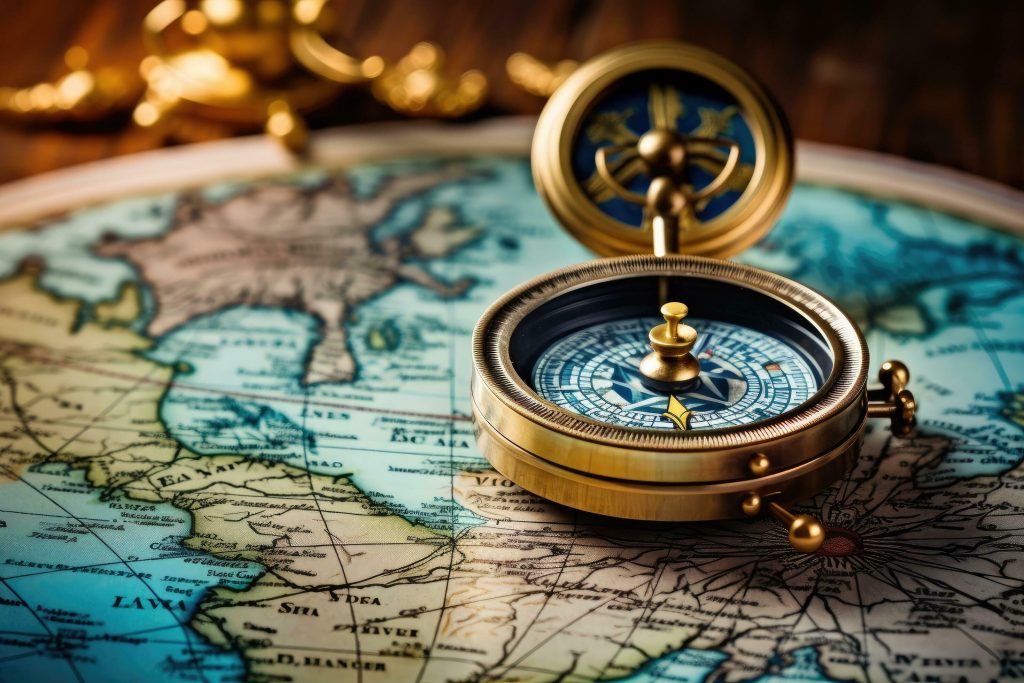
For a more interactive and customizable display, consider creating a magnetic travel map. This innovative idea combines the visual appeal of a world map with the flexibility to add and rearrange souvenirs as your collection grows.
Start with a large metal board or sheet. You can find these at most hardware stores, or you could repurpose an old metal filing cabinet or refrigerator door. Paint the surface with chalkboard paint for a matte finish that’s easy to draw on.
Next, use chalk or paint markers to draw a simplified world map on your metal surface. You don’t need to be too detailed – major continents and a few key landmarks will suffice. Alternatively, you could project a map onto the surface and trace it for more accuracy.
Now comes the fun part – adding your souvenirs. Use strong magnets to attach small, lightweight souvenirs to the appropriate locations on your map. This could include photos, ticket stubs, small flags, or even miniature 3D objects like keychains or figurines.
For heavier items, you might need to create a magnetic backing. Glue small, powerful magnets to the back of your souvenir using strong adhesive. This allows you to attach a wider range of items to your map.
The beauty of this display method is its flexibility. You can easily move items around, add new ones as you travel, or even change the entire focus of your map. For example, you could rearrange your souvenirs to group them by type, by year of travel, or to create a visual representation of a specific multi-stop journey.
To add more detail to your display, use chalk or markers to write place names, dates, or brief notes about your travels directly on the map. This creates a personal travel journal that’s visually engaging and constantly evolving.
A magnetic travel map is not just a display – it’s an interactive piece of art that grows and changes with your travels. It’s a fantastic way to showcase your adventures while also serving as inspiration for future trips.
9. Design a Travel-Inspired Tapestry
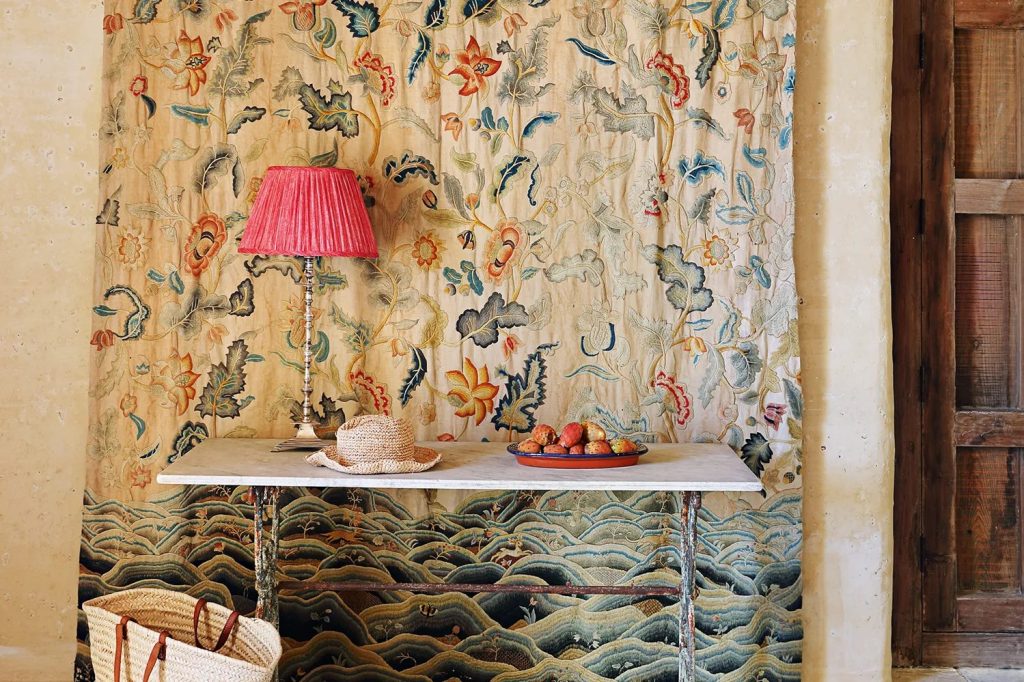
For those who appreciate textiles and want a softer touch in their souvenir display, creating a travel-inspired tapestry can be a beautiful and meaningful project. This method allows you to incorporate a variety of materials and memories into a single, striking piece of wall art.
Start with a large piece of sturdy fabric as your base. Canvas, linen, or even a vintage tablecloth can work well. The size and shape are up to you, but a rectangle or square is typically easiest to work with.
Now, gather an assortment of textile souvenirs from your travels. This could include patches, small flags, pieces of traditional clothing, scarves, or even fabric scraps you’ve collected along the way. You can also include non-textile items like pins, small photos, or lightweight trinkets.
Begin arranging your items on the base fabric. You might want to create a map-like layout, grouping souvenirs by region, or you could opt for a more abstract arrangement based on color or theme. Once you’re happy with the layout, start attaching the items. You can sew them on for a secure and traditional look, or use fabric glue for a quicker solution.
To add more detail and personalization, consider embroidering place names, dates, or short phrases that remind you of your travels. You could also incorporate beadwork or sequins for added texture and sparkle.
For a finishing touch, add a rod pocket at the top of your tapestry for easy hanging, or attach grommets if you prefer to hang it with hooks or clips.
A travel-inspired tapestry is not only a beautiful way to display your souvenirs, but it’s also a tactile reminder of your journeys. The mixture of textures and materials creates a rich, layered piece that tells the story of your travels in a unique and personal way.
10. Construct a Souvenir Shadow Box Coffee Table
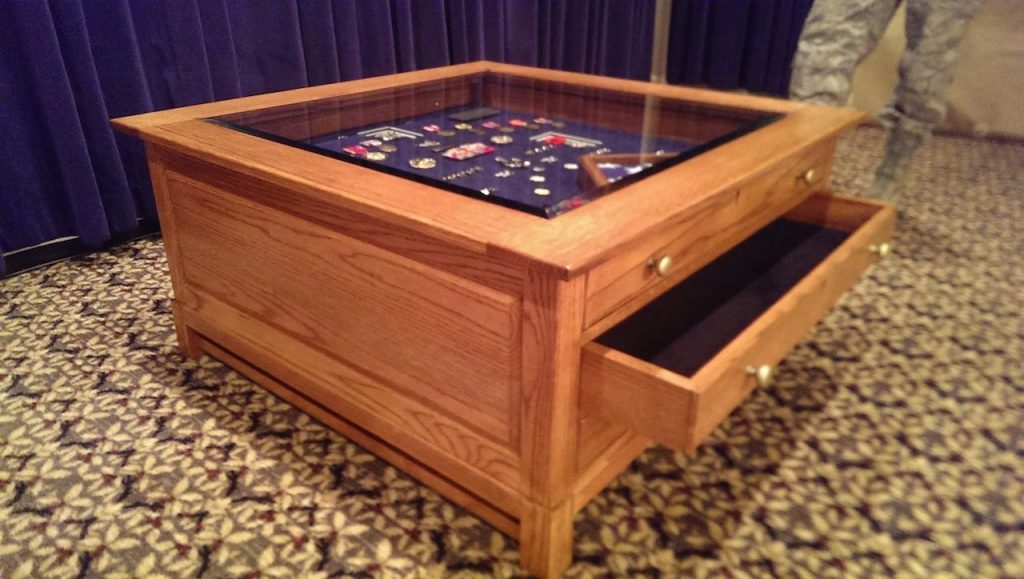
For those who want to incorporate their travel memories into their furniture, creating a souvenir shadow box coffee table can be a unique and conversation-starting project. This idea combines functionality with display, allowing you to showcase your souvenirs in an unexpected way.
Start with a coffee table that has a glass top and a hollow center. You can either purchase one specifically designed for display purposes or modify an existing table by replacing the top with a piece of tempered glass.
Line the bottom of the table with a neutral material like felt or canvas. This will provide a clean backdrop for your souvenirs and protect them from scratches.
Now, arrange your travel souvenirs inside the table. This is an excellent opportunity to display larger or more fragile items that might not work well on a wall. Consider creating themed sections within the table, perhaps dedicating different areas to different trips or types of souvenirs.
To add depth and interest to your display, use small boxes or platforms of varying heights to elevate some items. This creates a more dynamic arrangement and allows you to fit more items without the display looking cluttered.
For context, you could include small labels or cards with information about each item. These could be placed next to the souvenirs or attached to the underside of the glass top.
The beauty of this display method is that it keeps your souvenirs protected while still allowing them to be seen and appreciated daily. It’s also a great way to rotate your display – simply open the table top to rearrange items or add new ones from your latest adventure.
A souvenir shadow box coffee table not only serves as a functional piece of furniture but also as a personal museum of your travels. It’s a unique way to incorporate your memories into your daily life and a sure conversation starter when you have guests.
11. Create a Travel-Themed Wall Clock
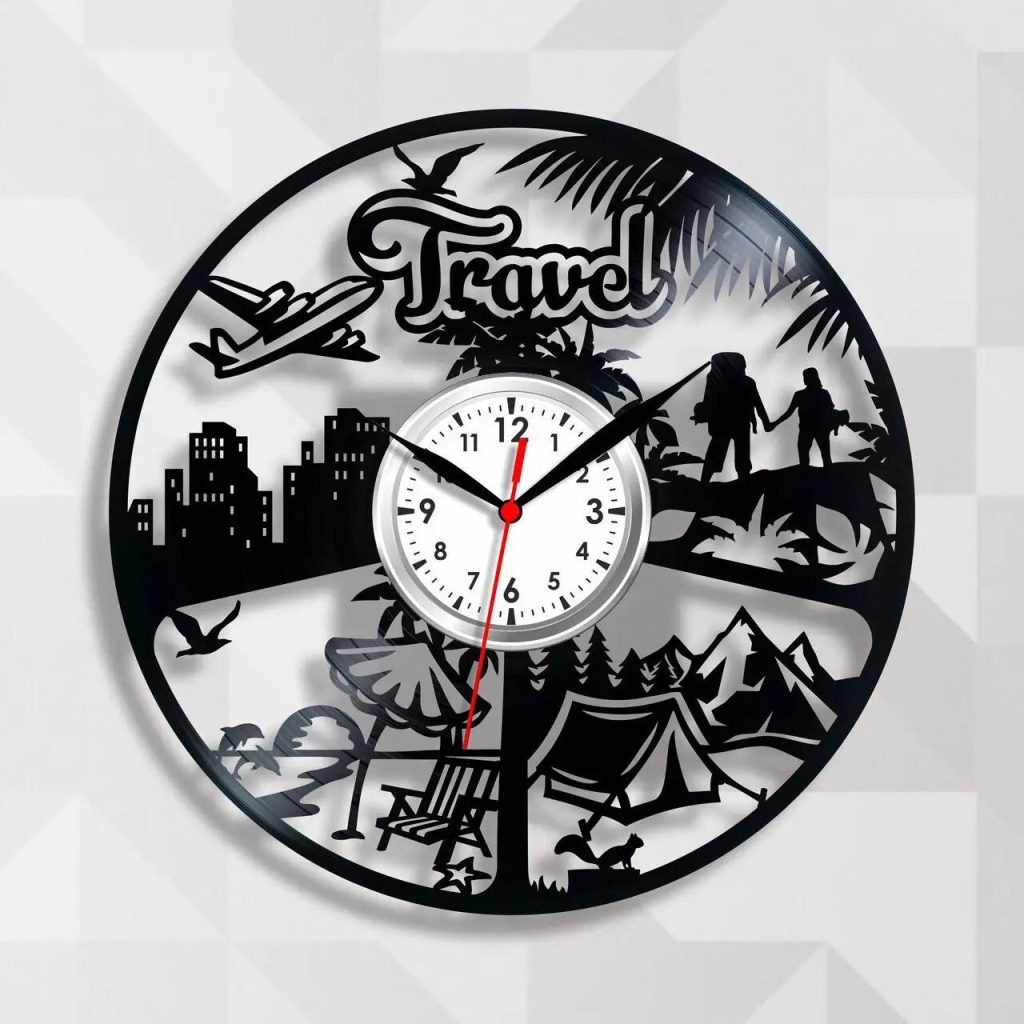
Combining functionality with your travel memories, a custom wall clock made from souvenirs can be a unique and eye-catching addition to your home decor.
Start with a large, plain clock face – you can find these at craft stores or online. Remove the original numbers and hands. Now, replace the numbers with small souvenirs from your travels. These could be miniature landmarks, small trinkets, or even coins from different countries.
For example, at the 12 o’clock position, you might place a tiny Eiffel Tower figurine. At 3 o’clock, perhaps a small Buddha statue from Thailand. Continue around the clock face, using items that represent different destinations you’ve visited.
To make the clock functional, reattach the hands, ensuring they’re long enough to be seen clearly over your souvenirs. You might want to paint the hands a bright color to make them stand out.
For added interest, you could decoupage a map onto the clock face before adding your souvenirs. This creates a travel-themed background that ties the whole piece together.
Not only does this create a unique and personal timepiece, but it also serves as a constant reminder of your travels throughout the day. Every time you check the time, you’ll be transported back to the places you’ve been.
12. Design a Postcard Wallpaper

For those with an extensive collection of postcards, creating a wallpaper-like display can be a visually striking way to showcase your travels.
Choose a wall or section of wall to cover. Start by arranging your postcards on the floor to plan your layout. You might choose to organize them by color, destination, or in a completely random pattern for an eclectic look.
Once you’re happy with the arrangement, begin attaching the postcards to the wall. For a temporary solution that won’t damage your walls, use removable adhesive strips or washi tape. If you’re looking for a more permanent display, you could use wallpaper paste or decoupage technique.
To protect your postcards and create a seamless look, consider covering the entire display with a clear, protective varnish or a sheet of clear acrylic.
This method creates a vibrant, colorful display that tells the story of your travels in a unique way. It’s particularly effective in smaller spaces like hallways or alcoves, where it can create a striking feature wall.
Related Post: 20 Space-Saving Furniture Ideas for Studio Apartments
13. Craft a Travel Memory Quilt
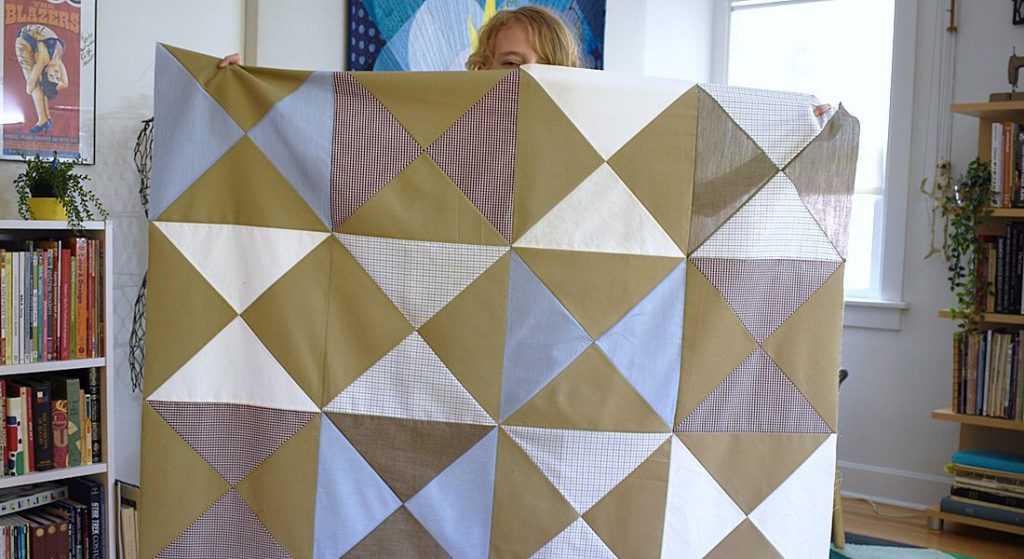
For those with sewing skills, creating a travel memory quilt to hang on the wall can be a cozy and personal way to display your souvenirs.
Gather fabric souvenirs from your travels – this could include t-shirts, scarves, flags, or even fabric swatches purchased specifically as souvenirs. Cut these into uniform squares or shapes that work with your quilt design.
Intersperse these souvenir fabric pieces with complementary solid fabrics or patterns. You might choose to arrange the squares to form a map shape, or simply in a pleasing color pattern.
As you sew the quilt together, consider adding embroidered details like place names, dates, or small motifs that represent your travel experiences.
Once complete, attach a rod pocket or hanging loops to the back of the quilt for easy wall display. The result is a soft, tactile piece of wall art that not only showcases your travels but also adds warmth and texture to your space.
14. Create a Floating Shelf Ticket Display
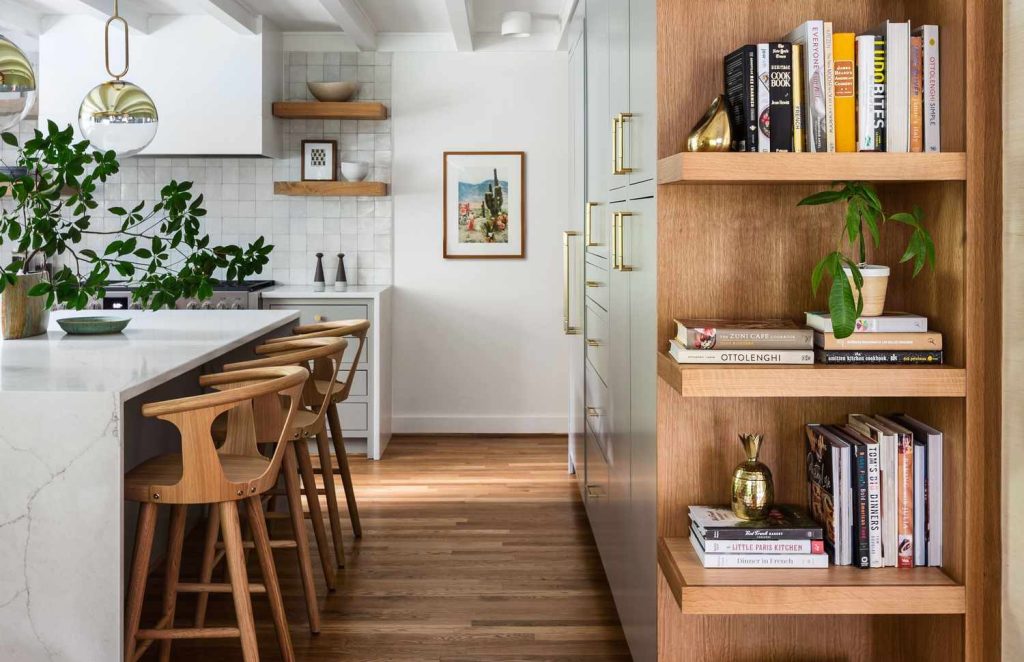
Ticket stubs are common souvenirs that often end up forgotten in drawers. Bring them out into the open with a creative floating shelf display.
Install a series of narrow floating shelves on your wall. These could be arranged in a straight line, a zigzag pattern, or any configuration that fits your space.
Stand your ticket stubs up along the shelves, leaning them slightly back for stability. You can arrange them chronologically, by type of event, or by destination.
To add visual interest, intersperse your tickets with small travel photos or miniature souvenirs. You could also add small plant pots or candles to vary the height and texture of the display.
This method not only showcases your ticket collection in an organized way but also allows for easy addition of new tickets as you continue to travel and collect memories.
15. Design a Travel-Inspired Wall Mural
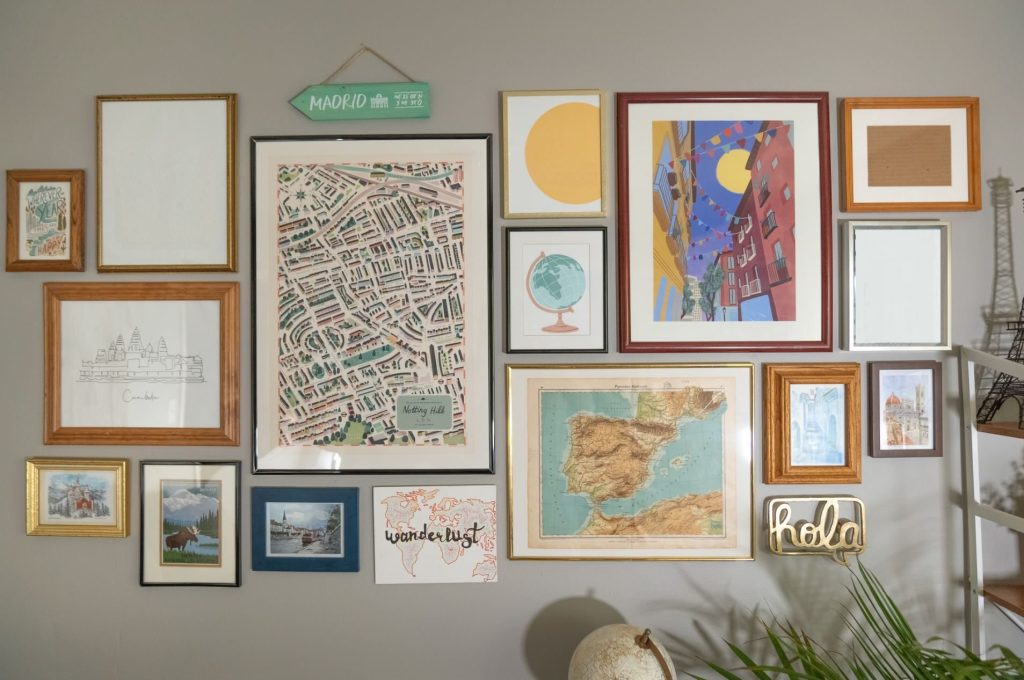
For those with artistic skills (or willing to hire an artist), creating a travel-inspired wall mural can be a dramatic way to showcase your adventures.
Choose a wall to serve as your canvas. Sketch out a design that incorporates elements from your favorite travel destinations. This could be a world map with illustrated landmarks, a landscape featuring elements from different countries, or an abstract design inspired by the colors and patterns you’ve encountered in your travels.
As you paint the mural, incorporate actual souvenirs into the design. For example, you could glue coins from different countries onto painted trees, or attach small figurines to represent different landmarks.
Consider adding three-dimensional elements to make the mural more interactive. You could attach hooks or small shelves to display additional souvenirs within the context of the painted scene.
A travel-inspired mural not only serves as a stunning focal point in your home but also as a personal map of your adventures, bringing your travel memories to life in a truly unique way.
16. Create a Souvenir Suitcase Shadow Box
This creative display method combines nostalgia with practicality by turning a vintage suitcase into a wall-mounted shadow box.
Start by finding an old suitcase – the more travel-worn, the better. Clean it thoroughly and remove any inner lining if necessary. Paint the interior a neutral color to create a clean backdrop for your souvenirs.
Next, cut the suitcase in half lengthwise, so that when opened, it lies flat against the wall. Secure the hinge side to your wall using strong brackets.
Now comes the fun part – arranging your souvenirs inside the suitcase. Use small hooks, wire, or clear fishing line to suspend lighter items. Heavier objects can be secured to the base of the suitcase with strong adhesive.
Consider grouping souvenirs by trip, or creating a themed display. You might dedicate one suitcase to beach vacations, filled with shells, sand dollars, and photos of tropical locations. Another could showcase city breaks, with ticket stubs, miniature landmarks, and urban-themed trinkets.
Add small labels or tags to provide context for each item. You could include the location and date, or even brief anecdotes about how you acquired each souvenir.
For a finishing touch, you could string fairy lights around the interior of the suitcase, creating a warm glow that highlights your travel treasures.
This unique display method not only showcases your souvenirs in an unexpected way but also adds a whimsical, vintage touch to your decor. It’s a perfect representation of the idea that our travels are the baggage we’re happy to carry through life.
17. Design a Travel Photo Window
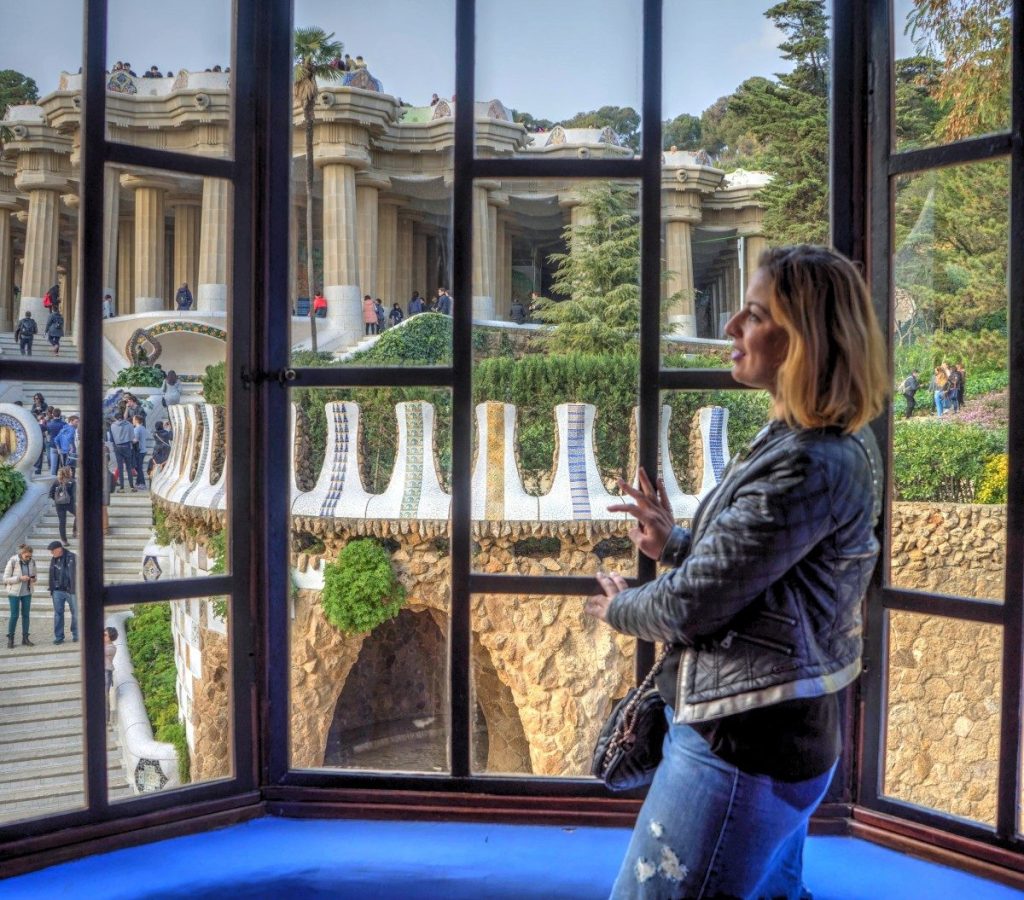
If you have an old window frame (or can find one at a flea market or salvage yard), you can repurpose it into a unique display for your travel photos.
Start by cleaning the window frame thoroughly and painting it if desired. Remove any remaining glass panes.
Next, select photos from your travels that fit the pane sizes of your window. You might choose to use one large photo per pane, or create a collage of smaller photos within each section.
Attach your photos to the back of the window frame using strong adhesive or by creating a backing board that holds the photos in place.
For added interest, you could use maps or colorful scrapbook paper as a background for some of the panes, mixing these with your photos.
Consider adding small three-dimensional elements to some of the panes. For example, you could attach a small souvenir to the frame in front of a related photo.
Hang your completed window frame on the wall as you would a large picture frame. The result is a rustic, creative display that gives the illusion of looking out onto scenes from your travels.
This method not only showcases your travel photos in a unique way but also adds architectural interest to your wall. It’s a perfect blend of vintage charm and personal memories.
18. Create a Magnetic Bottle Cap Map
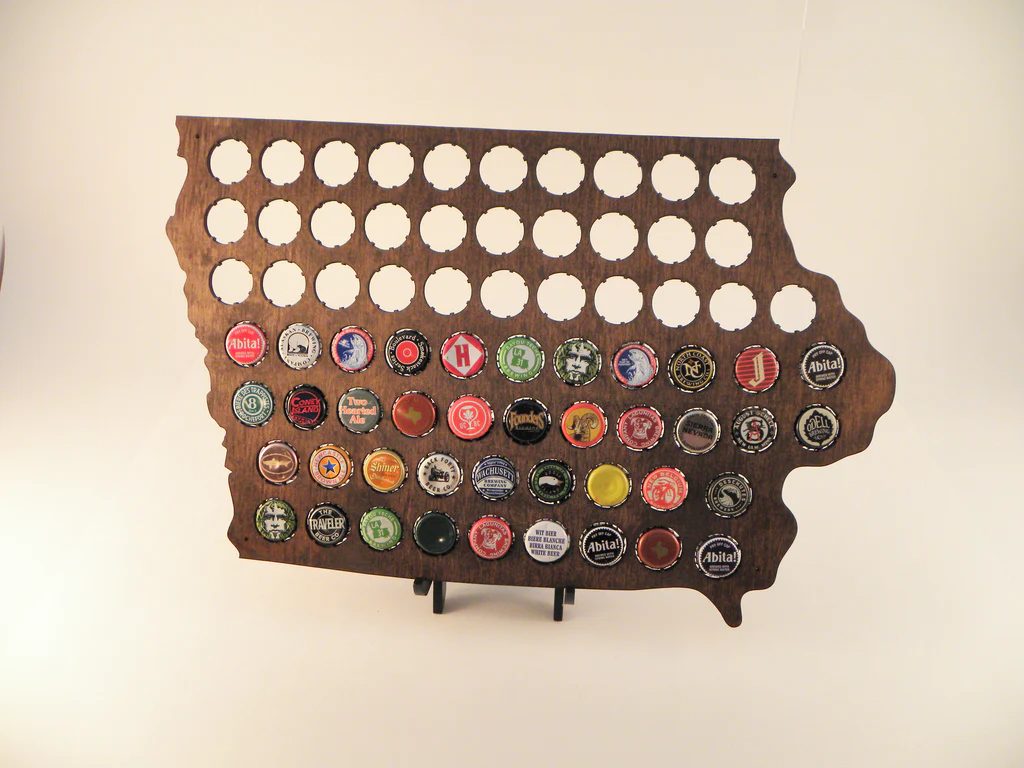
This unique idea combines the concept of a push-pin travel map with the fun of collecting bottle caps from around the world.
Start with a large metal board as your base. You can find these at office supply stores or repurpose an old filing cabinet door. Paint the board with chalkboard paint for a matte finish that’s easy to draw on.
Using chalk or paint markers, draw an outline of the world map (or a specific region you’ve traveled extensively) on the board. You don’t need to be too detailed – just enough to distinguish major countries or states.
Now comes the fun part – collecting bottle caps from beverages you’ve enjoyed in different locations. Flatten the bottle caps and glue small, strong magnets to the back of each one.
As you travel, collect a bottle cap from each location and add it to your map. Place each cap on its corresponding location on the map. The magnets will hold the caps in place while allowing you to easily move or rearrange them.
For added context, you could write the name of each location and the date of your visit directly on the board near each bottle cap. This creates a visual record of your travels that’s both informative and visually interesting.
This display method not only showcases your travels in a unique way but also encourages you to try local beverages wherever you go. It’s a fun, interactive piece that grows with each new adventure.
19. Design a Souvenir Letterbox Display
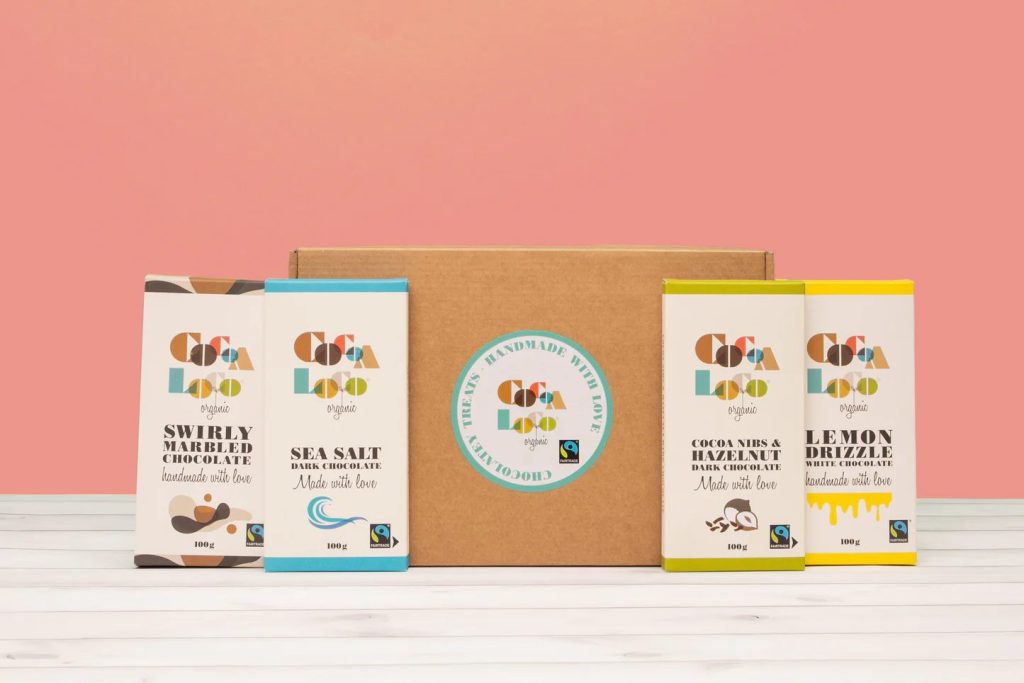
Inspired by printers’ typesetting trays, this display method creates a grid-like showcase for smaller souvenirs.
Start with a large, shallow shadowbox frame or a vintage letterpress tray. These often come with built-in compartments of various sizes, perfect for organizing different souvenirs.
Arrange your smaller souvenirs within the compartments. This could include items like coins, small figurines, shells, rocks, or even folded paper money from different countries.
To add context, create small labels for each item with the location and date. These can be placed in the compartments alongside the souvenirs or attached to the frame beneath each section.
For added visual interest, consider painting the back of each compartment a different color, perhaps coordinating with the colors of the country’s flag where each souvenir was acquired.
This display method is particularly effective for organizing and showcasing a large collection of small items in a cohesive, visually appealing way. It turns your collection of tiny treasures into a work of art.
20. Craft a Travel Memory Mandala
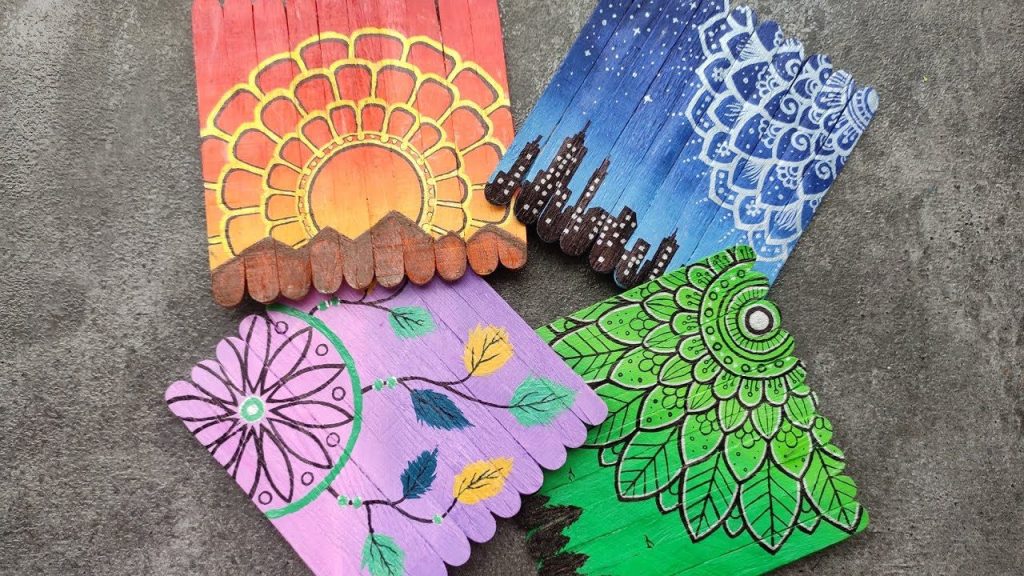
For a more artistic and meditative approach to displaying your travel souvenirs, consider creating a mandala-inspired wall hanging.
Start with a large, circular base – this could be a wooden disc, a large embroidery hoop, or even a bicycle wheel for an industrial look.
Begin arranging your souvenirs from the center outwards, creating concentric circles of items. Try to use souvenirs of similar sizes within each ring for a harmonious look.
You might choose to organize your mandala by trip, with each ring representing a different journey. Alternatively, you could arrange items by type (all ticket stubs in one ring, all coins in another) or by color for a more abstract representation of your travels.
Use strong adhesive to secure each item in place. For smaller or flatter items like ticket stubs or postcards, you might want to create a base layer of decoupage before adding three-dimensional objects.
In the spaces between souvenirs, consider adding decorative elements like beads, sequins, or painted designs to fill out the mandala pattern.
Once complete, hang your travel memory mandala on the wall. The circular shape and repetitive patterns create a sense of unity and wholeness, while the individual souvenirs tell the story of your adventures.
This display method not only showcases your travel memories in a unique way but also creates a striking piece of wall art that draws the eye and invites closer inspection.
21. Design a Travel-Inspired Washi Tape Mural

For a low-commitment but high-impact display, consider creating a mural using washi tape and flat souvenirs.
Washi tape is a type of decorative masking tape that comes in a variety of colors and patterns. It’s removable, making it perfect for renters or those who like to change their decor frequently.
Start by planning your design. This could be a world map, a skyline of your favorite cities, or an abstract pattern inspired by your travels.
Use the washi tape to create your base design on the wall. You can layer and overlap different colors and patterns to create depth and interest.
Now, incorporate your flat souvenirs into the design. This could include postcards, photos, ticket stubs, or even pressed flowers. Use small pieces of washi tape to secure these items to the wall within your tape design.
The beauty of this method is its flexibility – you can easily add new souvenirs or rearrange your design as your collection grows. And when you’re ready for a change, the tape peels off without damaging your walls.
This creates a colorful, personalized mural that showcases your travels in a playful, artistic way. It’s a perfect project for those who enjoy hands-on crafting and want a display method that can evolve over time.
22. Create a Souvenir Ladder Display
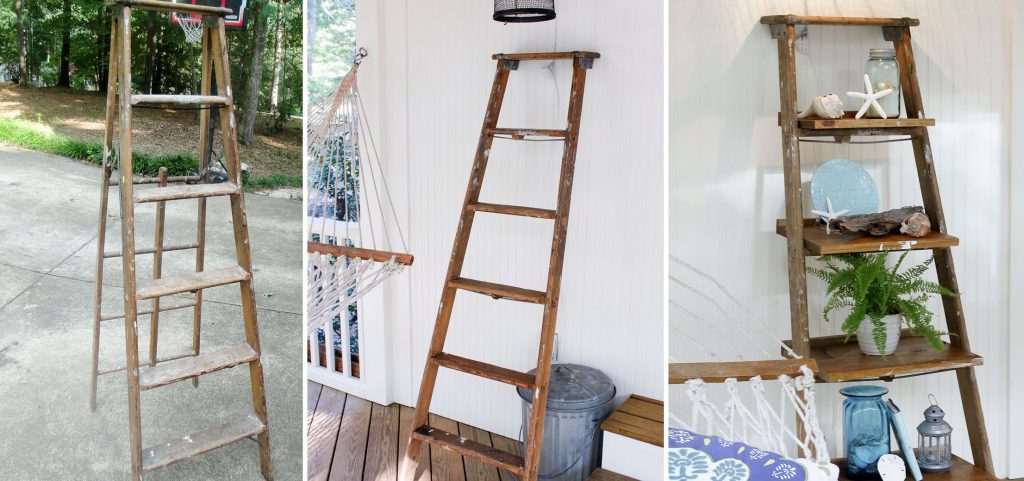
Repurposing an old wooden ladder into a souvenir display combines rustic charm with practical organization.
Start with a wooden ladder – the older and more weathered, the better. Clean it thoroughly and, if desired, paint or stain it to match your decor.
Lean the ladder against your wall at a slight angle. Secure it at the top to ensure it doesn’t slip.
Now, use the rungs of the ladder as shelves for your souvenirs. Larger items can sit directly on the rungs, while smaller items might need small dishes or trays to keep them in place.
You can hang lightweight items like postcards or small flags from twine strung between the rungs. Use clothespins or small clips to secure these items to the twine.
Consider grouping your souvenirs by trip or by type. You might dedicate one rung to beach vacations, another to city breaks, and so on.
Add small potted plants or vines to soften the look and bring a touch of nature to your display.
This method not only provides an interesting way to showcase your souvenirs but also adds a unique architectural element to your room. It’s particularly effective in corners or narrow wall spaces where traditional shelving might not fit.
23. Design a Travel Memory Terrarium
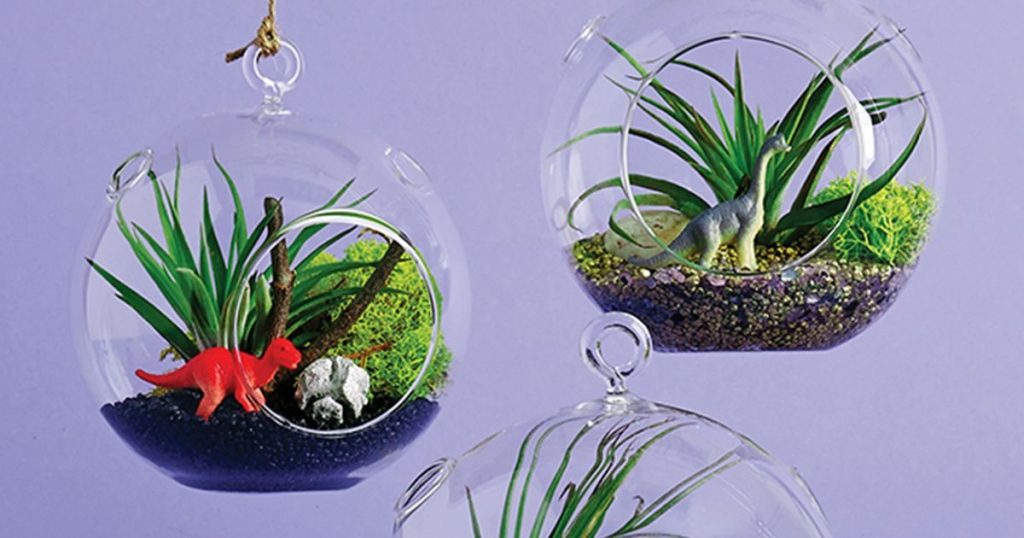
For a unique twist on displaying smaller souvenirs, consider creating a series of travel-themed terrariums to hang on your wall.
Start with clear glass containers – these could be traditional terrarium vessels, large ornament balls, or even repurposed light bulbs for a whimsical touch.
In each container, create a miniature scene inspired by one of your trips. Use small souvenirs, tiny figurines, and natural elements like sand, pebbles, or small plants to set the scene.
For example, a beach vacation terrarium might include sand, small shells, and a tiny beach umbrella souvenir. A city break terrarium could feature a miniature landmark, a small map, and perhaps a tiny taxi cab.
Secure the items in place with a small amount of clear silicone adhesive. Be sure to use preserved plants or very low-maintenance live plants if you choose to include them.
Hang your completed terrariums on the wall using strong hooks or by creating a custom wall-mounted frame to hold them.
This display method allows you to create miniature, three-dimensional representations of your travels. It’s a creative way to showcase small souvenirs and creates intriguing, detailed vignettes that invite closer inspection.
24. Create a Travel-Inspired Wall Tapestry

For a soft, textural addition to your walls, consider creating a travel-inspired tapestry.
Start with a large piece of neutral-colored fabric as your base. This could be canvas, linen, or even a plain bedsheet.
Using fabric paints, embroidery, or appliqué techniques, create a design inspired by your travels. This could be a world map, a collection of landmarks from places you’ve visited, or abstract patterns inspired by textiles you’ve seen on your journeys.
Incorporate actual souvenirs into your tapestry. Sew on patches from different locations, attach small flags or pins, or even include pockets to hold postcards or photos.
Add embroidered details like place names, dates, or short phrases that remind you of your adventures.
Once complete, attach a rod pocket to the top of your tapestry for easy hanging.
This method not only creates a unique, personalized piece of wall art but also adds a soft, tactile element to your travel display.
25. Design a Souvenir Silhouette Wall

This creative display method combines the clean lines of silhouette art with the textures and colors of your travel souvenirs.
Start by choosing a silhouette design – this could be a world map, the outline of a favorite landmark, or even your own profile.
Trace this silhouette onto a large piece of plywood or MDF board and cut it out carefully.
Now, cover the surface of your cut-out shape with souvenirs. Flat items like postcards, maps, or ticket stubs work well for this. Use decoupage techniques to adhere these items smoothly to the surface.
For added texture and interest, incorporate small 3D souvenirs as well. These could be placed around the edges of the silhouette or used to create focal points within the design.
Once complete, mount your souvenir silhouette on the wall. The contrast between the defined shape and the colorful, textured surface creates a striking visual effect.
This method allows you to showcase a large number of souvenirs in a cohesive, artistic way.
26. Create a Travel Memory Chandelier
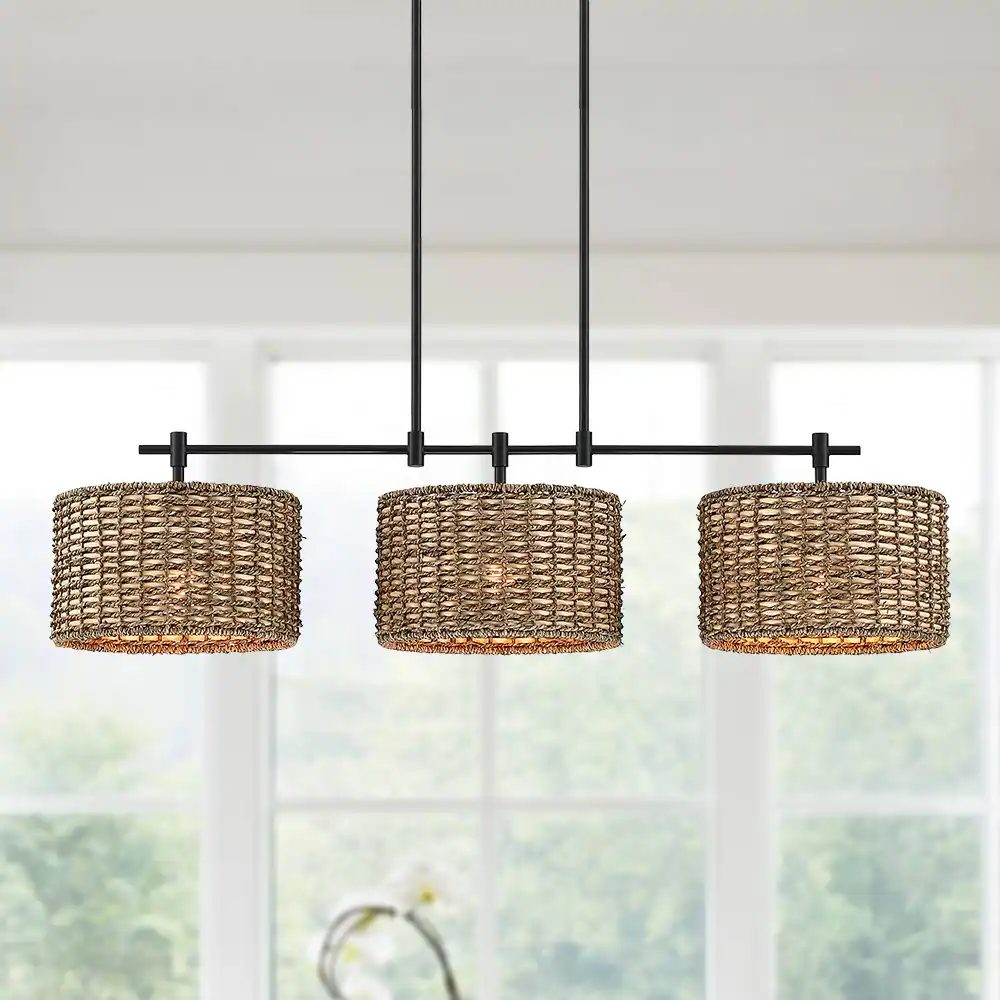
For a truly unique display that doubles as a lighting fixture, consider creating a travel memory chandelier.
Start with a basic chandelier frame or a large embroidery hoop. You can find these at craft stores or repurpose an old chandelier by removing its existing ornaments.
Using strong, clear fishing line or thin wire, hang your lightweight souvenirs from the frame. This could include small flags, miniature figurines, shells, or even laminated photos or postcards.
Arrange your items at different heights for visual interest. You might choose to group souvenirs by trip or create a color gradient effect.
If using a chandelier frame with light fixtures, be sure to keep flammable items away from the bulbs. Alternatively, you could use battery-operated LED lights for a safer option.
Hang your completed chandelier from the ceiling, ideally in a spot where it can be viewed from all angles.
This method creates a dynamic, eye-catching display that brings your travel memories into the very structure of your home.
27. Design a Travel Quote Gallery Wall
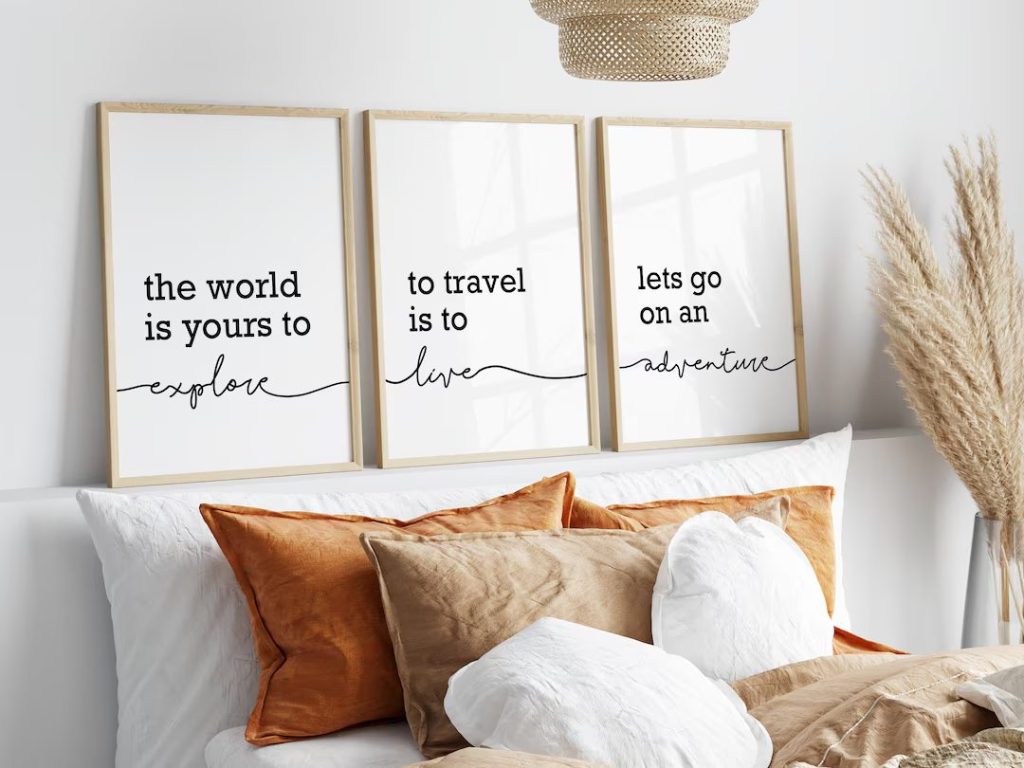
Combine your love of travel with inspiring quotes to create a unique gallery wall.
Select a series of travel quotes that resonate with you. These could be famous quotes about wanderlust, lines from your favorite travel books, or even personal mantras you’ve developed on your journeys.
Create artworks featuring these quotes. You could hand-letter them, use digital design software, or even commission a local artist. Vary the sizes and orientations of your quote artworks for visual interest.
Intersperse these quote artworks with photos from your travels and small souvenirs mounted in shadow boxes.
Arrange your collection on the wall, playing with different layouts until you find one that feels balanced and visually appealing.
This method not only showcases your physical travel memories but also captures the spirit and philosophy behind your love of travel.
28. Craft a Souvenir Mosaic
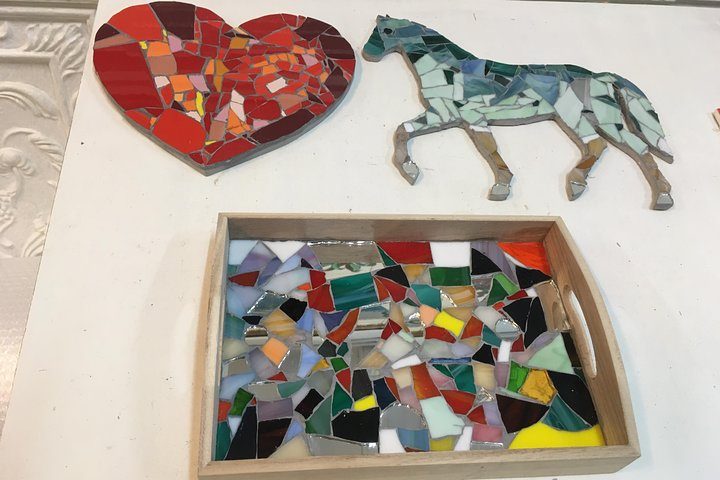
Create a stunning piece of wall art by turning your smaller souvenirs into a mosaic.
Start with a large, sturdy base – this could be a piece of plywood, a canvas, or even an old table top.
Design your mosaic pattern. This could be abstract, or it could form an image related to your travels, like a landmark or a map.
Use your small souvenirs as mosaic tiles. This works well with items like shells, small stones, coins, or broken pieces of pottery. Fill in gaps with colored glass tiles or stones.
Adhere each piece to your base using strong mosaic adhesive. Once everything is in place, grout between the pieces to create a unified surface.
Mount your completed mosaic on the wall. The result is a textured, visually interesting piece that incorporates a multitude of travel memories into a single artwork.
29. Create a Travel Memory Weaving
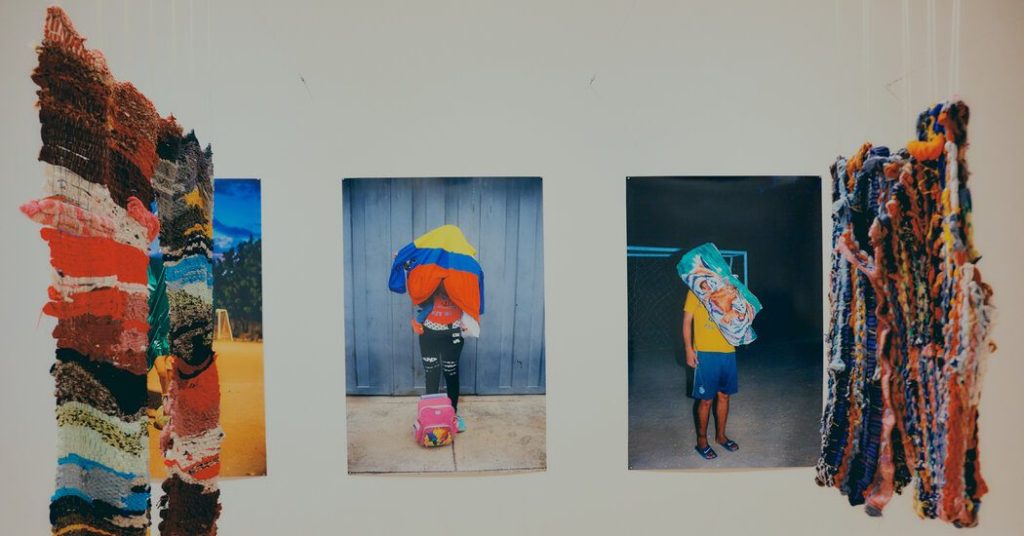
Combine traditional weaving techniques with your travel souvenirs for a unique wall hanging.
Start with a large weaving loom – you can find these at craft stores or make a simple one yourself using a wooden frame and nails.
Begin your weaving with neutral-colored yarn to create a base. As you weave, incorporate souvenirs from your travels. This could include fabric scraps, ticket stubs, small flags, or even elongated photos printed on fabric.
Use thicker yarn or rope to create pockets within your weaving. These pockets can hold small 3D souvenirs like shells or figurines.
Once your weaving is complete, hang it on the wall using a wooden dowel threaded through the top.
This method creates a tactile, textured display that combines craft techniques with travel memories.
30. Design a Souvenir Wallpaper Accent
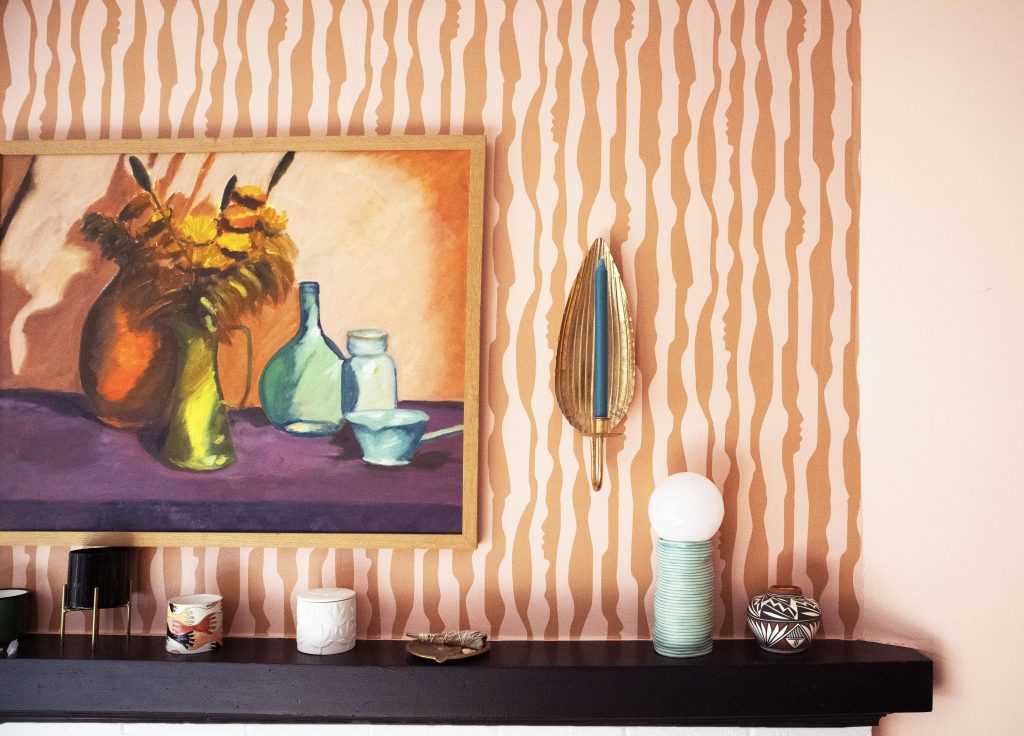
For a bold statement, consider creating a custom wallpaper using images of your souvenirs.
Photograph your collection of souvenirs, aiming for consistent lighting and a neutral background. Include a mix of full-object shots and close-ups of interesting details.
Use a digital design program or work with a custom wallpaper company to create a repeating pattern from your souvenir images.
Apply this custom wallpaper to an accent wall in your home. The result is a striking backdrop that showcases your travels in an unexpected way.
For added impact, consider displaying some of your actual 3D souvenirs on shelves mounted over this custom wallpaper.
This method allows you to showcase even the smallest details of your souvenir collection on a grand scale.
Conclusion
Displaying travel souvenirs on your walls is about more than just decoration – it’s about surrounding yourself with memories, sharing your stories, and keeping the spirit of adventure alive in your daily life. Whether you prefer a neat, organized display or a more eclectic, artistic approach, there’s a method here to suit every traveler’s style.
Remember, the key to a successful souvenir display is personalization. Feel free to mix and match these ideas, adapt them to your space and collection, and most importantly, let them reflect your unique travel experiences.
As you create your display, you’ll likely find yourself reliving cherished memories and perhaps even planning your next adventure. After all, the best souvenir displays always have room for one more treasure from your next journey.
So dust off those mementos, get creative, and transform your walls into a personal travel gallery. Not only will you have a beautiful and meaningful addition to your home decor, but you’ll also have a daily reminder of the amazing experiences you’ve had and the incredible world that’s out there waiting to be explored.
Happy travels, and happy decorating!

