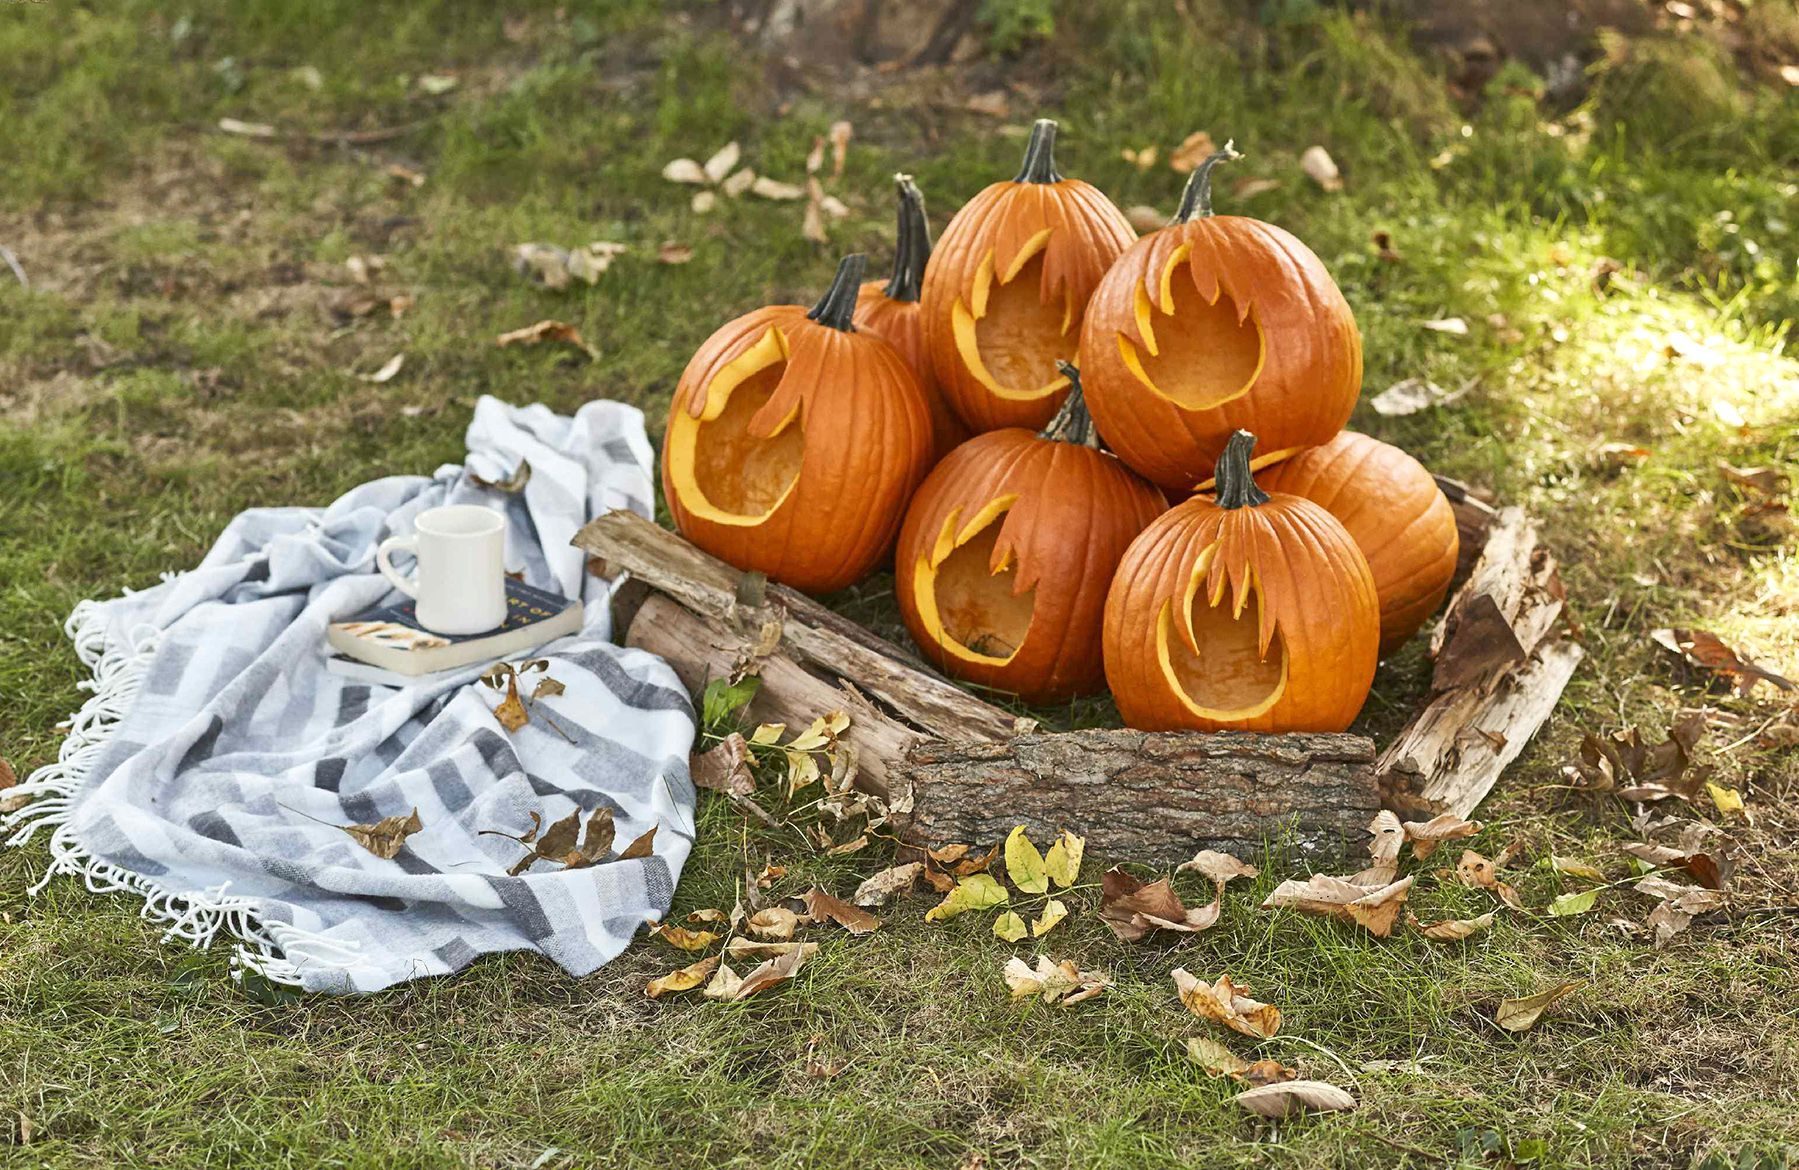
As the leaves begin their chromatic transformation and a crisp breeze whispers through the air, it’s time to welcome the cozy embrace of autumn. What better way to celebrate the season than by adorning your space with charming pumpkin decor?
Whether you’re a crafting virtuoso or a DIY novice, these 25 pumpkin decorating ideas are sure to ignite your creativity and infuse your home with fall’s warm spirit. From elegant centerpieces that’ll wow your dinner guests to whimsical outdoor displays that’ll be the talk of the neighborhood, we’ve got you covered.
Get ready to transform ordinary pumpkins into extraordinary works of art that reflect your unique style. So, grab your supplies, roll up your sleeves, and let’s dive into a world where pumpkins become canvases for your imagination.
DIY Pumpkin Decor Ideas
With these ideas, you’ll create a harvest of beautiful decorations that’ll make your home feel like an autumn wonderland. Let the pumpkin crafting begin!
1. Glitter Glamour Pumpkins
Materials Needed:
- Pumpkins (real or artificial)
- Glitter in various colors
- Mod Podge or craft glue
- Paintbrush
- Newspaper or drop cloth
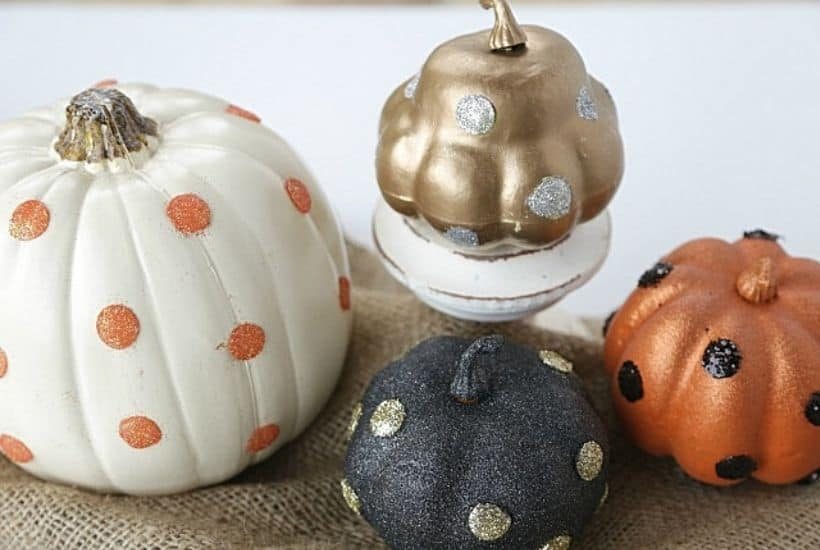
Transform ordinary pumpkins into dazzling decor pieces with a generous coating of glitter. Start by applying a layer of Mod Podge or craft glue to your pumpkin’s surface. While the adhesive is still wet, sprinkle your chosen glitter color generously over the pumpkin, ensuring even coverage. For a multi-toned effect, use different glitter colors on various sections of the pumpkin.
Allow the first layer to dry completely before adding another coat of glue and glitter if needed. Once finished, gently shake off any excess glitter and display your sparkling creations. These glamorous pumpkins make excellent centerpieces for dining tables or eye-catching accents on mantels and shelves.
2. Painted Geometric Patterns
Materials Needed:
- Pumpkins (real or artificial)
- Acrylic paint in various colors
- Painter’s tape
- Paintbrushes
- Pencil (optional)
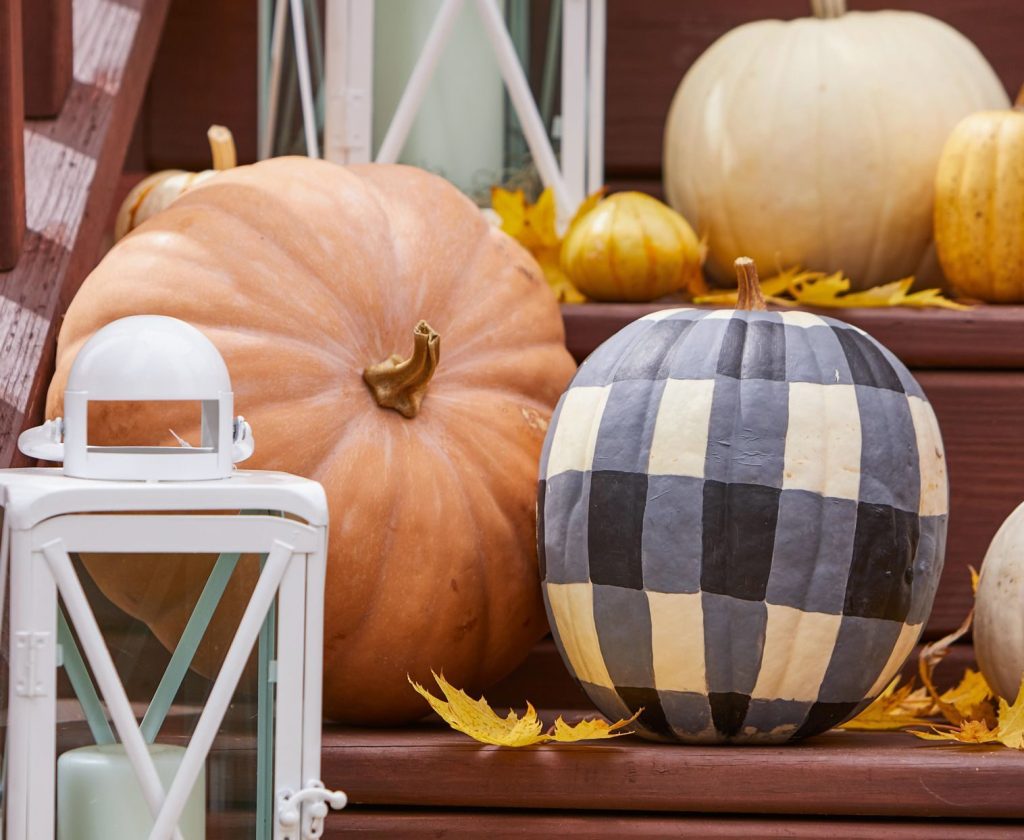
Give your pumpkins a modern twist with striking geometric patterns. Begin by cleaning and drying your pumpkins thoroughly. Use painter’s tape to create crisp lines and shapes on the pumpkin’s surface. You can opt for simple stripes, triangles, or more complex patterns like hexagons or chevrons.
Once your design is taped off, apply acrylic paint in your chosen colors. For best results, use multiple thin coats rather than one thick layer. Allow each coat to dry before applying the next. Carefully remove the tape once the paint is completely dry to reveal your geometric masterpiece. This technique works particularly well with contrasting colors for a bold, eye-catching effect.
3. Floral Decoupage Pumpkins
Materials Needed:
- Pumpkins (real or artificial)
- Floral napkins or tissue paper
- Mod Podge or decoupage glue
- Scissors
- Paintbrush
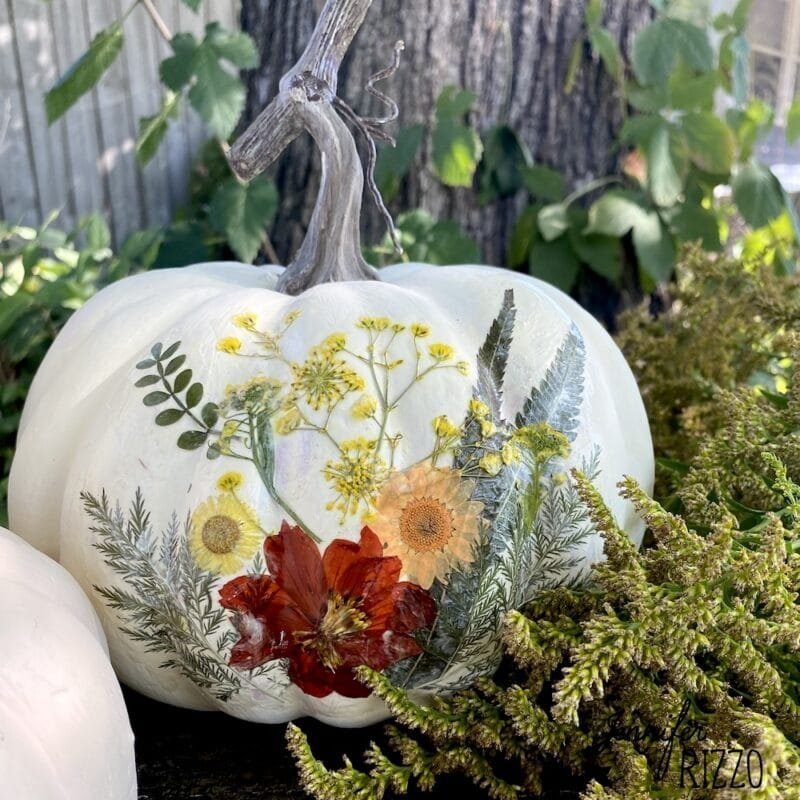
Bring a touch of spring to your fall decor with these charming floral decoupage pumpkins. Start by selecting napkins or tissue paper with beautiful floral designs. If using napkins, separate the printed top layer from the plain bottom layers. Cut out the floral motifs you want to use.
Apply a thin layer of Mod Podge or decoupage glue to a small section of the pumpkin. Carefully place a floral cutout onto the glued area, smoothing out any wrinkles or air bubbles. Continue this process, overlapping the edges slightly, until the entire pumpkin is covered. Once dry, apply a final coat of Mod Podge over the entire pumpkin for a protective finish.
4. Metallic Leaf Pumpkins
Materials Needed:
- Pumpkins (real or artificial)
- Metallic leaf sheets (gold, silver, or copper)
- Leaf adhesive
- Soft brush
- Cotton balls
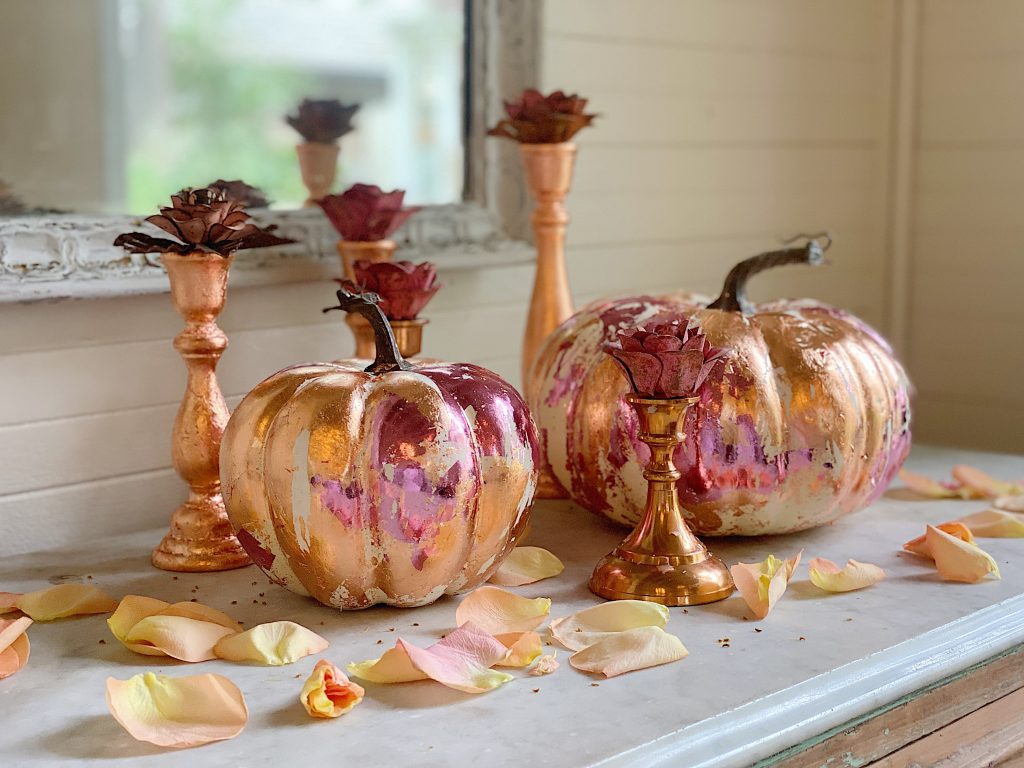
Add a touch of luxury to your fall decor with metallic leaf pumpkins. Begin by applying leaf adhesive to a small section of your pumpkin using a soft brush. Wait until the adhesive becomes tacky, then carefully apply the metallic leaf sheet. Gently press the leaf onto the surface with a cotton ball, smoothing out any wrinkles.
Continue this process, working in small sections, until the entire pumpkin is covered. Once complete, use a soft brush to remove any excess leaf flakes. For a weathered look, lightly sand some areas to reveal the pumpkin beneath. These gilded pumpkins make stunning centerpieces or mantel decorations.
5. Chalkboard Paint Pumpkins
Materials Needed:
- Pumpkins (real or artificial)
- Chalkboard paint
- Paintbrush or foam roller
- Chalk
- Eraser
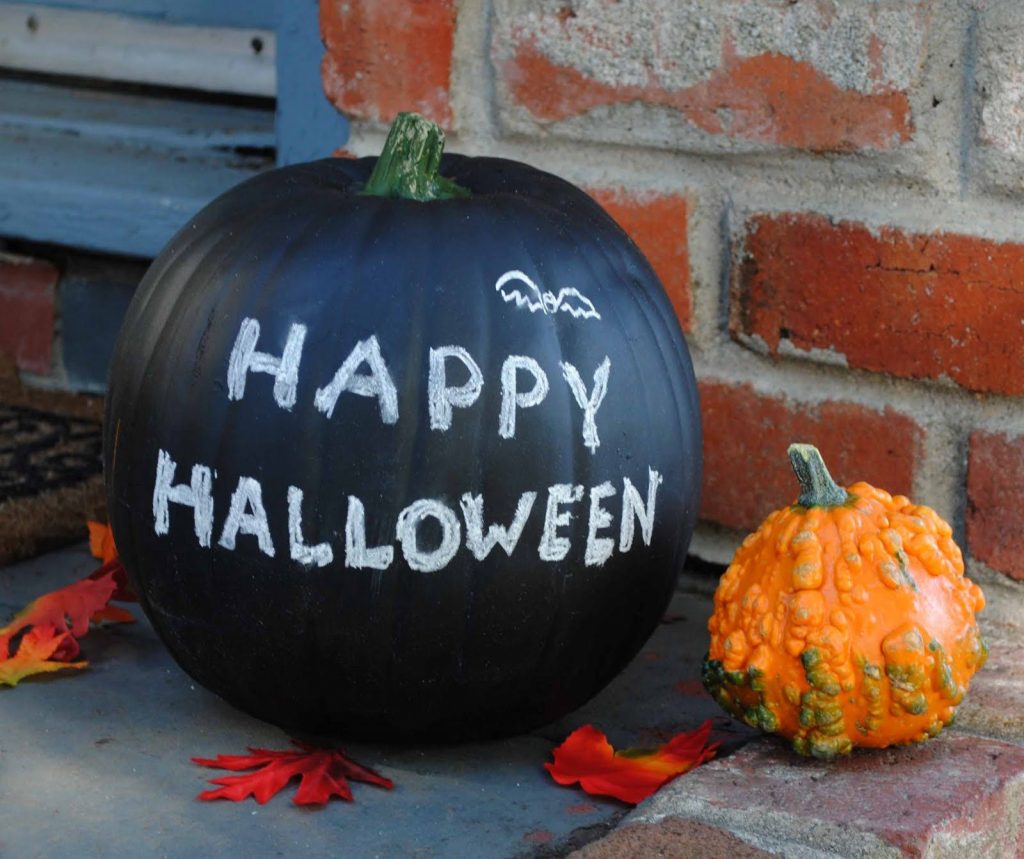
Create versatile and interactive decor with chalkboard paint pumpkins. Start by thoroughly cleaning and drying your pumpkins. Apply chalkboard paint evenly using a paintbrush or foam roller, ensuring full coverage. Allow the paint to dry completely between coats, applying 2-3 coats for best results.
Once the final coat is dry, condition the surface by rubbing the side of a piece of chalk over the entire pumpkin and then erasing it. Now your pumpkin is ready for endless creativity! Use chalk to write seasonal messages, draw intricate designs, or even use them as place cards for your Thanksgiving dinner. These pumpkins can be easily updated throughout the season.
6. Succulent Topped Pumpkins

Materials Needed:
- Small pumpkins
- Variety of succulents
- Moss
- Hot glue gun
- Scissors
Combine two popular decor trends with these charming succulent-topped pumpkins. Begin by selecting small, flat-topped pumpkins as your base. Using a hot glue gun, attach a layer of moss to the top of each pumpkin, creating a natural-looking foundation for your succulents.
Carefully remove succulents from their pots, gently shaking off excess soil. Arrange the succulents on top of the moss, playing with different heights and textures. Once you’re satisfied with the arrangement, use the hot glue gun to secure each succulent in place. These living pumpkin decorations make beautiful centerpieces and can last for several weeks with proper care.
7. Lace-Covered Pumpkins
Materials Needed:
- Pumpkins (real or artificial)
- Lace fabric or doilies
- Mod Podge or fabric glue
- Scissors
- Paintbrush
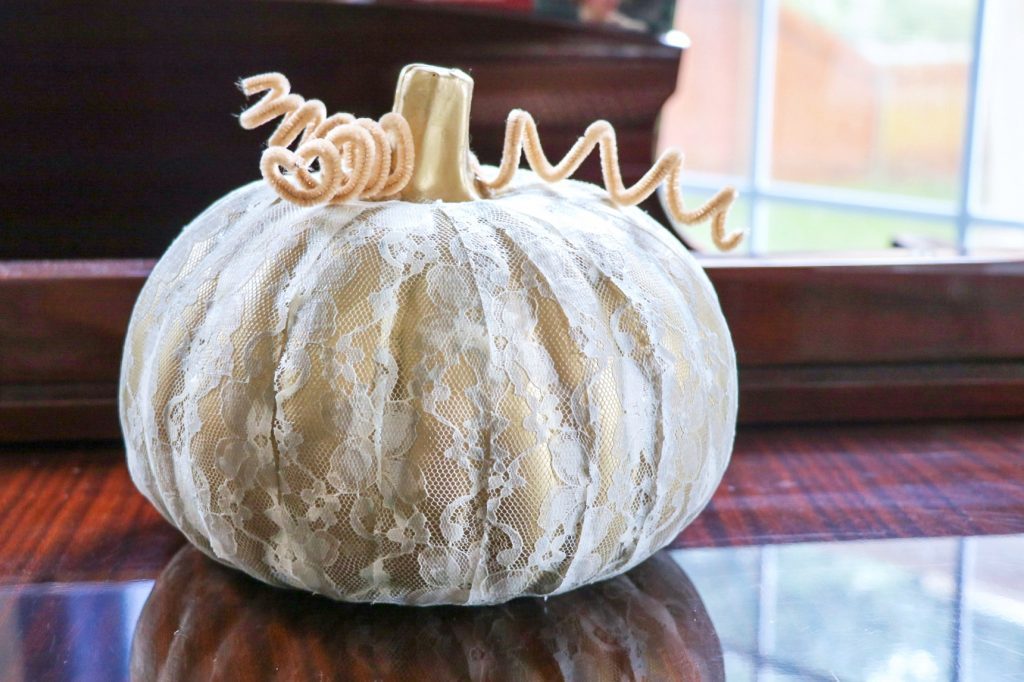
Add a touch of vintage charm to your fall decor with lace-covered pumpkins. Start by cutting your lace fabric or doilies into sections that will fit your pumpkin’s surface. Apply a thin layer of Mod Podge or fabric glue to a small area of the pumpkin.
Carefully place the lace onto the glued surface, smoothing out any wrinkles or bubbles. Continue this process, overlapping the edges slightly, until the entire pumpkin is covered. For a cohesive look, wrap any excess lace around the stem. Once dry, apply a final coat of Mod Podge over the entire pumpkin for a protective finish and subtle sheen.
8. Marbled Paint Pumpkins
Materials Needed:
- Pumpkins (real or artificial)
- Acrylic paint in various colors
- Large container filled with water
- Toothpicks or skewers
- Disposable gloves
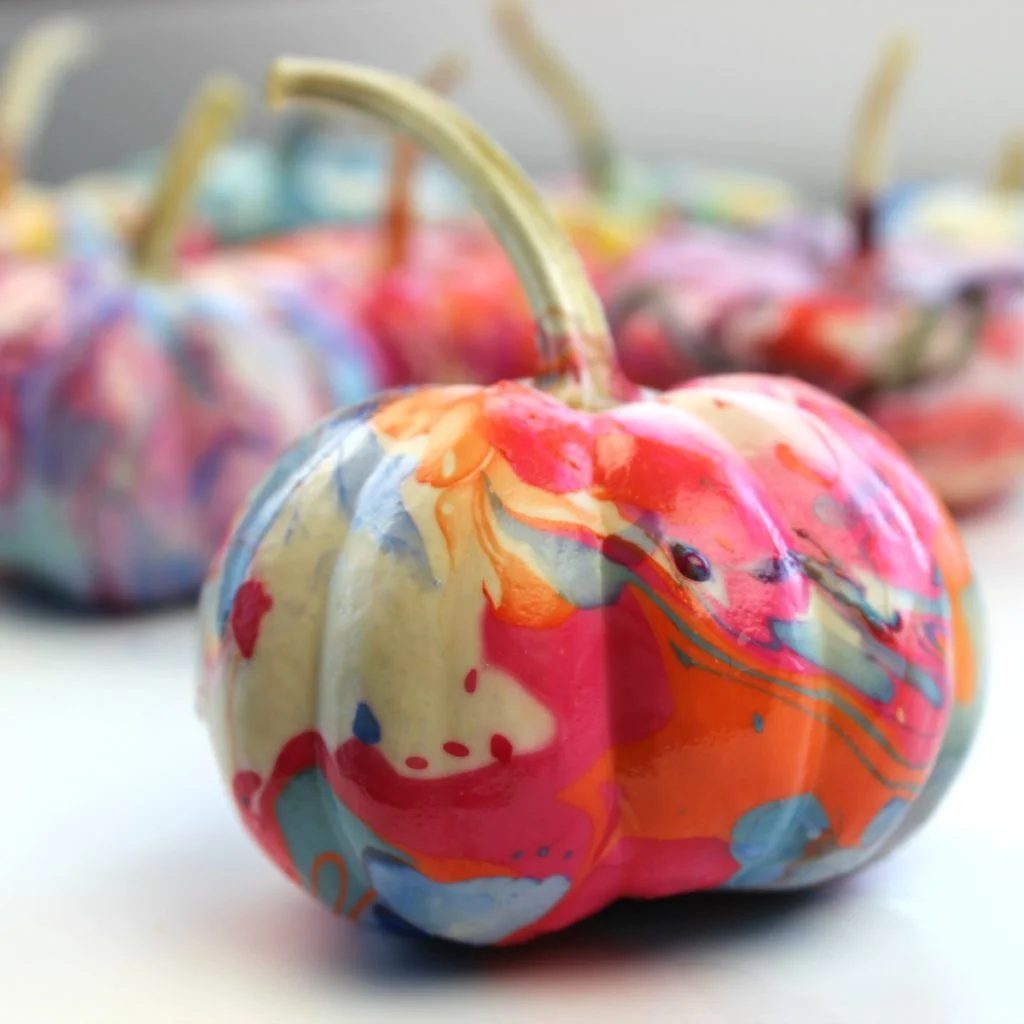
Create stunning, one-of-a-kind pumpkins with this easy marbling technique. Fill a large container with room temperature water. Drop small amounts of different colored acrylic paints onto the water’s surface. Use a toothpick or skewer to swirl the colors together, creating a marbled effect.
Wearing gloves, quickly dip your pumpkin into the water, rolling it to cover the entire surface. The paint will adhere to the pumpkin, creating a unique marbled pattern. Lift the pumpkin out and allow excess water to drip off. Set the pumpkin aside to dry completely. Each pumpkin will have its own distinct pattern, making this a fun and unpredictable decorating method.
9. Copper Tack Pumpkins
Materials Needed:
- Pumpkins (real or artificial)
- Copper thumbtacks
- Hammer (optional)
- Pencil (optional)
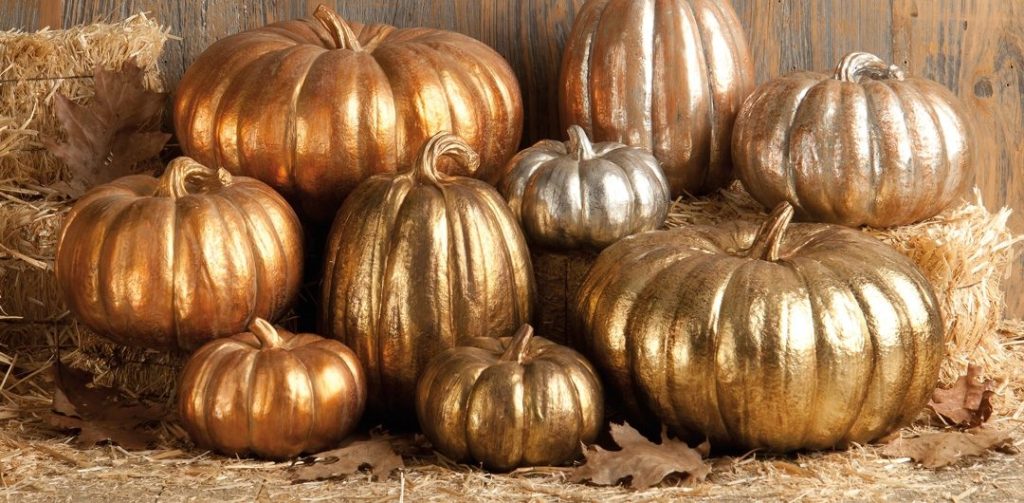
Add a touch of industrial chic to your fall decor with these eye-catching copper tack pumpkins. Begin by cleaning and drying your pumpkins thoroughly. If desired, use a pencil to lightly sketch your design onto the pumpkin’s surface. This could be a simple pattern, intricate design, or even words.
Start inserting copper thumbtacks into the pumpkin, following your sketched design or creating a pattern as you go. For softer pumpkins, you can usually push the tacks in by hand. For harder pumpkins or artificial ones, you may need to use a hammer to gently tap the tacks into place. The resulting metallic design will catch the light beautifully, adding a unique sparkle to your autumn display.
10. Fabric-Wrapped Pumpkins
Materials Needed:
- Pumpkins (real or artificial)
- Fabric of choice
- Scissors
- Hot glue gun
- Ribbon (optional)
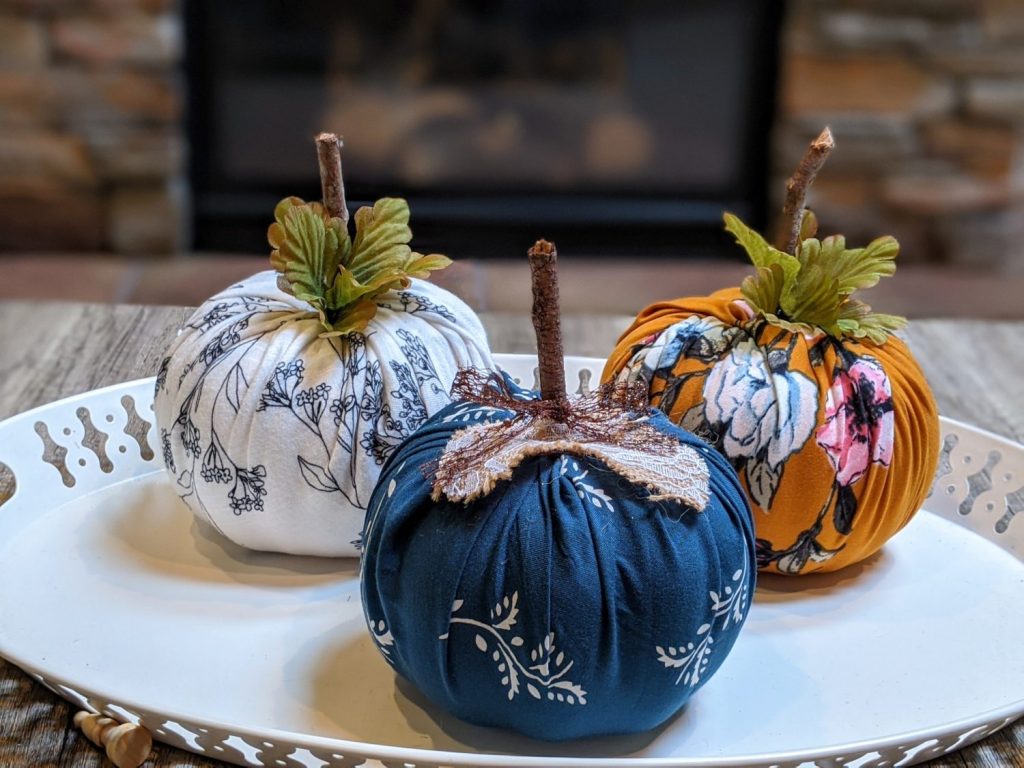
Give your pumpkins a cozy makeover with this fabric-wrapping technique. Choose fabrics that complement your home decor – think plaid for a rustic look, velvet for luxury, or burlap for a farmhouse feel. Cut your fabric into strips wide enough to wrap around your pumpkin with some overlap.
Starting at the bottom of the pumpkin, apply hot glue along the edge of a fabric strip and press it onto the pumpkin. Continue wrapping and gluing the fabric around the pumpkin, overlapping slightly as you go. When you reach the top, gather the fabric around the stem and secure with glue. For a finishing touch, wrap a complementary ribbon around the stem and secure with a bow.
11. Glowing Constellation Pumpkins
Materials Needed:
- Pumpkins (real or artificial)
- Black acrylic paint
- Small drill or awl
- String lights
- Star chart or constellation guide
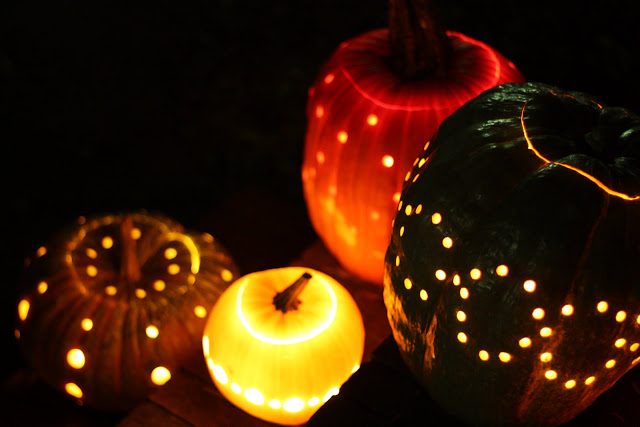
Transform your pumpkins into a starry night sky with this enchanting decorating idea. Start by painting your pumpkins entirely black using acrylic paint. Allow the paint to dry completely. Using a star chart or constellation guide as reference, mark the positions of stars on your pumpkin with a pencil.
Using a small drill or awl, carefully create holes where you’ve marked the stars. The size of the holes can vary to represent stars of different brightness. Once all the holes are drilled, insert string lights into the pumpkin. When lit, the lights will shine through the holes, creating a magical constellation effect. This design is particularly stunning in a darkened room or as outdoor decor.
Related Guide: 40 Spooky DIY Halloween Decor Ideas
12. Pressed Leaf Pumpkins
Materials Needed:
- Pumpkins (real or artificial)
- Pressed autumn leaves
- Mod Podge or decoupage glue
- Paintbrush
- Scissors (optional)
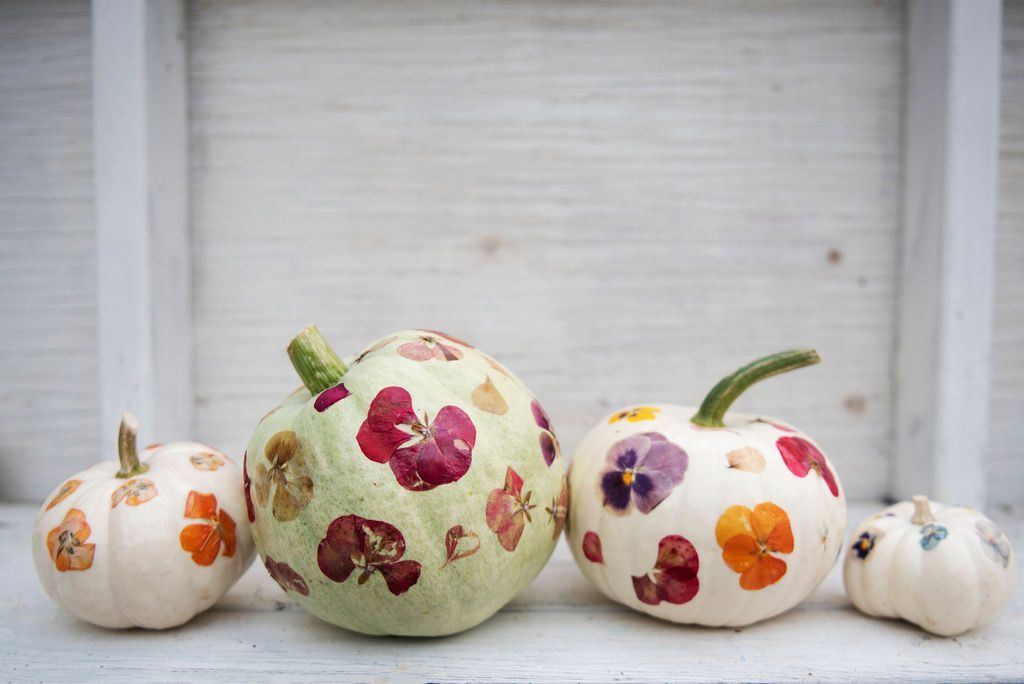
Celebrate the beauty of fall foliage with these nature-inspired pumpkins. Begin by collecting and pressing a variety of autumn leaves. Once your leaves are dry and flat, arrange them on your pumpkin, experimenting with different layouts and color combinations.
When you’re happy with the arrangement, carefully lift each leaf and apply a thin layer of Mod Podge to the back. Press the leaf onto the pumpkin, smoothing out any air bubbles. Continue until all leaves are attached. Once dry, apply a final coat of Mod Podge over the entire pumpkin to seal and protect the leaves. This creates a beautiful, natural decoration that captures the essence of the season.
13. Washi Tape Patterned Pumpkins
Materials Needed:
- Pumpkins (real or artificial)
- Variety of washi tape
- Scissors
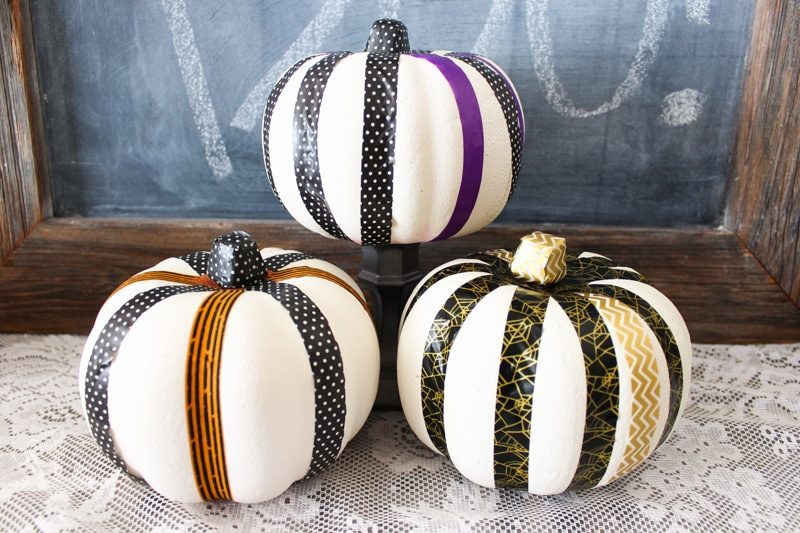
For a quick and easy decorating option, turn to colorful washi tape. This Japanese decorative tape comes in countless patterns and colors, allowing for endless creative possibilities. Start with clean, dry pumpkins. Cut strips of washi tape and apply them to your pumpkin in whatever pattern you like – stripes, zigzags, polka dots, or geometric shapes.
The great thing about washi tape is that it’s repositionable, so you can easily adjust your design as you go. Mix and match different tape patterns for a playful, eclectic look, or stick to a cohesive color scheme for a more elegant effect. This method is perfect for those who want a no-mess, easily changeable decoration.
14. Watercolor Effect Pumpkins

Materials Needed:
- White pumpkins (real or artificial)
- Liquid watercolors or food coloring
- Droppers or small brushes
- Water
- Paper towels
Create dreamy, pastel-hued pumpkins with this watercolor technique. Start with white pumpkins for the best effect. Mix your liquid watercolors or food coloring with water to create various shades. Using a dropper or small brush, apply the diluted colors to your pumpkin, allowing them to run and blend naturally.
For a more controlled effect, you can tilt the pumpkin to guide the color flow. Use paper towels to blot areas where the color pools too heavily. Layer different colors for depth and interest. The result is a soft, ethereal look that’s perfect for a romantic or bohemian fall decor scheme. These pumpkins look particularly stunning when grouped together in various sizes and color combinations.
15. Sequin and Bead Pumpkins
Materials Needed:
- Pumpkins (real or artificial)
- Sequins and beads in various colors
- Straight pins or hot glue gun
- Pencil (optional)
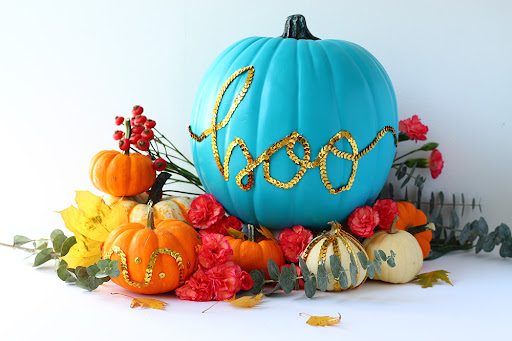
Add some sparkle and glamour to your fall decor with these bejeweled pumpkins. Begin by sketching your design on the pumpkin with a pencil if desired. This could be a simple pattern, swirls, or even words. Then, start attaching sequins and beads to your pumpkin following your design.
If using a real pumpkin, you can easily attach the sequins and beads using straight pins. For artificial pumpkins or a more permanent solution, use a hot glue gun. Mix different sizes, colors, and textures of sequins and beads for added interest. This technique allows for incredible creativity – you could create an ombré effect, geometric patterns, or even recreate famous artworks on your pumpkin canvas.
16. Terrarium Pumpkins
Materials Needed:
- Hollow artificial pumpkins
- Small plants or air plants
- Pebbles or decorative rocks
- Moss
- Activated charcoal
- Potting soil
- Clear fishing line
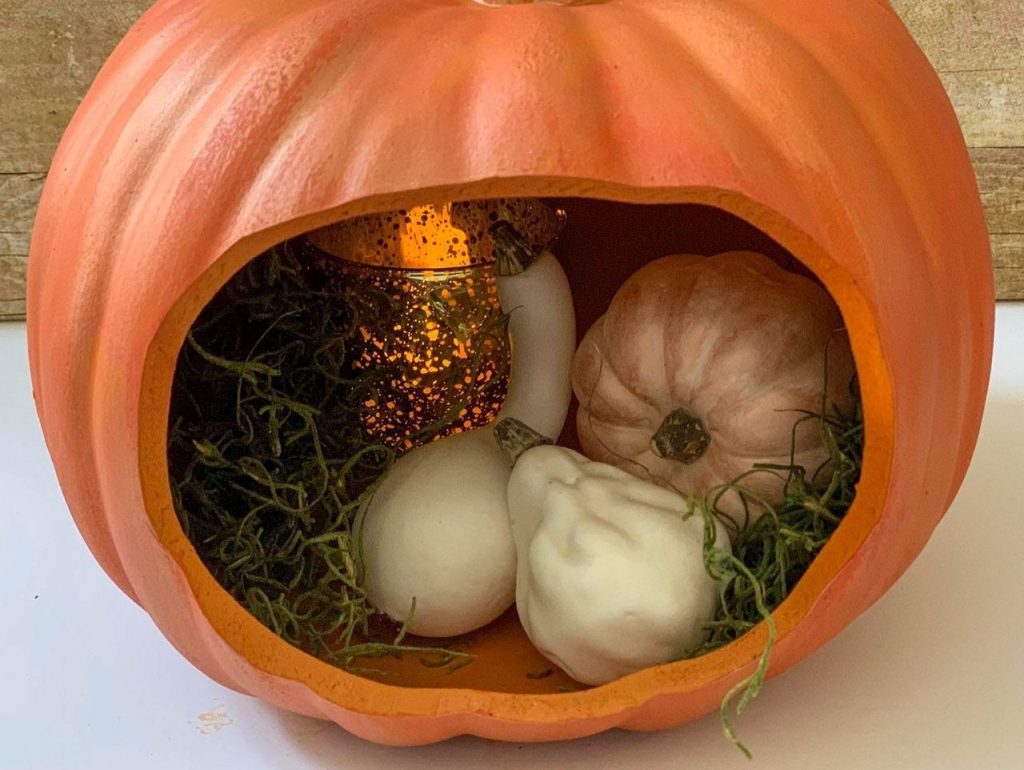
Transform hollow artificial pumpkins into miniature gardens with this creative terrarium idea. Start by cutting a large opening in your artificial pumpkin. Layer the bottom with pebbles for drainage, followed by a thin layer of activated charcoal to keep the terrarium fresh. Add a layer of potting soil.
Arrange your chosen plants inside the pumpkin, adding more soil as needed. Decorate with moss and additional pebbles for a finished look. If using air plants, you can suspend them inside the pumpkin using clear fishing line for an ethereal floating effect. These living pumpkin terrariums make for unique centerpieces or windowsill decorations.
17. Neon Dipped Pumpkins
Materials Needed:
- White pumpkins (real or artificial)
- Neon acrylic paint
- Paintbrushes
- Painter’s tape
- Drop cloth
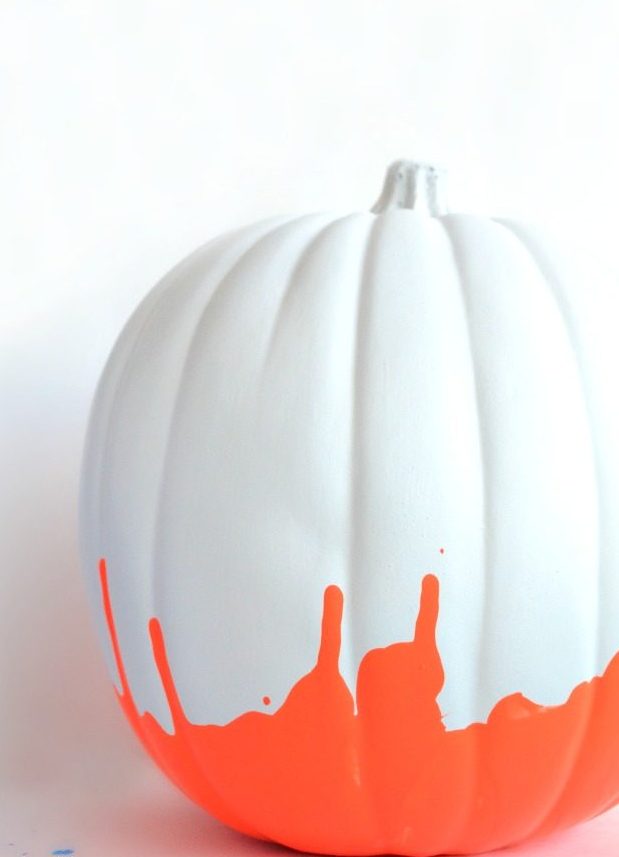
Give your pumpkins a modern, vibrant twist with this neon-dipped look. Start with white pumpkins for the best effect. Use painter’s tape to mark off the area you want to paint – this could be the bottom half, a diagonal section, or just the stem. Cover the rest of the pumpkin with a drop cloth to protect it from paint splatters.
Apply neon acrylic paint to the exposed area, using multiple thin coats for even coverage. Once the paint is completely dry, carefully remove the tape to reveal a crisp line between the white and neon sections. For an extra pop, consider using multiple neon colors on different sections of the pumpkin. These bright, eye-catching pumpkins are perfect for adding a fun, contemporary touch to your fall decor.
18. Book Page Pumpkins
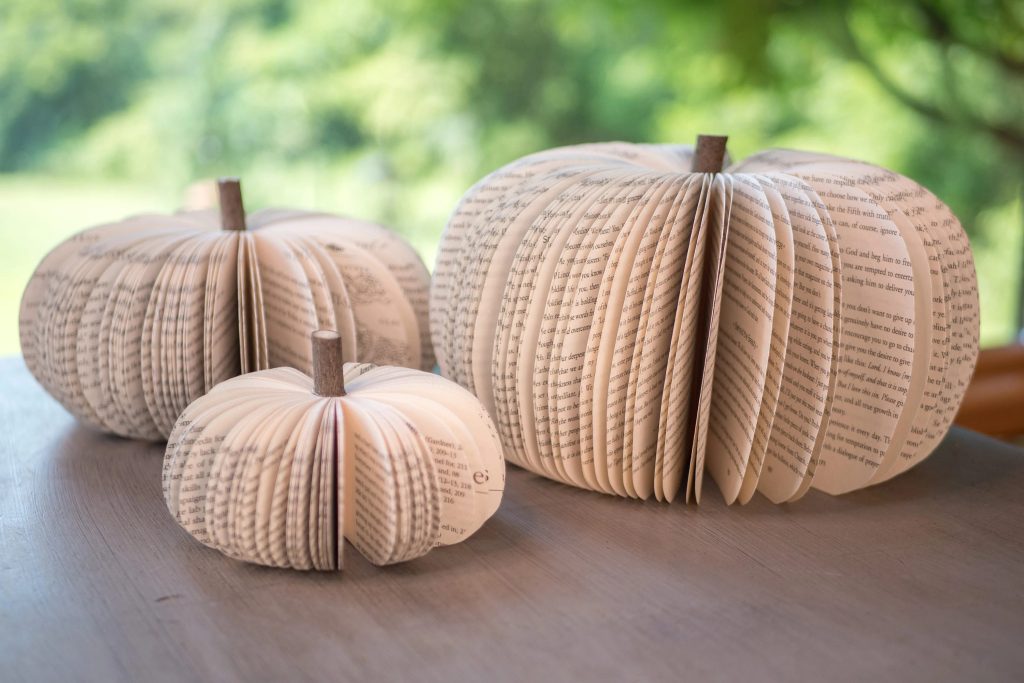
Materials Needed:
- Pumpkins (real or artificial)
- Old book pages
- Mod Podge or decoupage glue
- Scissors
- Paintbrush
- Brown ink pad (optional)
Create a literary-inspired pumpkin perfect for book lovers and vintage enthusiasts. Begin by tearing or cutting pages from an old book into various shapes and sizes. Apply a layer of Mod Podge to a section of your pumpkin and carefully place a book page piece onto it, smoothing out any wrinkles.
Continue this process, overlapping the edges of the paper pieces, until the entire pumpkin is covered. For an aged look, lightly dab the edges of the paper with a brown ink pad before attaching. Once the entire pumpkin is covered and dry, apply a final coat of Mod Podge to seal and protect the paper. This literary pumpkin makes a charming addition to bookshelves or reading nooks.
19. Melted Crayon Pumpkins
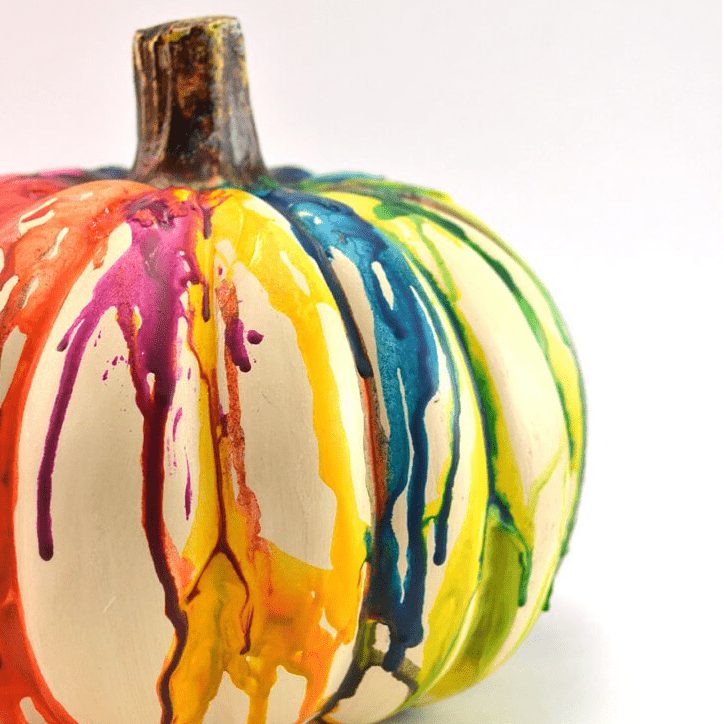
Materials Needed:
- White pumpkins (real or artificial)
- Crayons in various colors
- Hot glue gun
- Hairdryer
- Drop cloth or newspapers
Create a vibrant, abstract design with this fun melted crayon technique. Start by removing the paper wrapping from your crayons and breaking them into smaller pieces. Use a hot glue gun to attach the crayon pieces around the stem of your pumpkin, pointing downwards.
Once the glue is dry, set your pumpkin on a protected surface and use a hairdryer on its highest heat setting to melt the crayons. As they melt, the colors will run down the sides of the pumpkin, creating a beautiful drip effect. Rotate the pumpkin to ensure even coverage. The result is a unique, colorful pumpkin that looks like a work of modern art.
20. Doily Stenciled Pumpkins
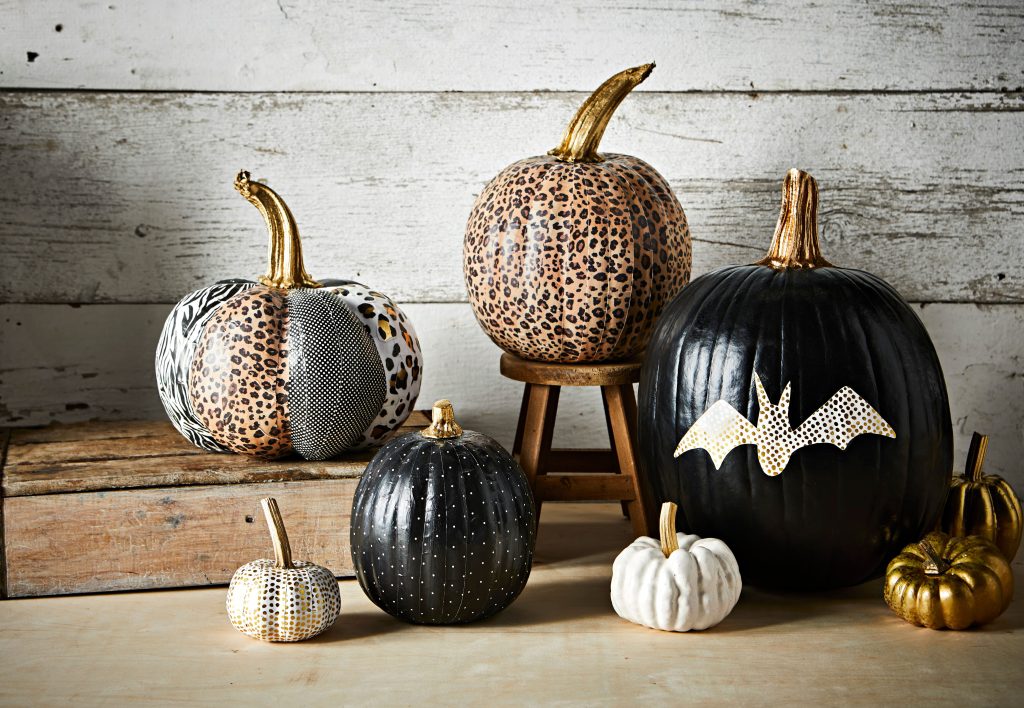
Materials Needed:
- Pumpkins (real or artificial)
- Paper doilies
- Spray paint
- Tape
- Scissors
Add a touch of delicate elegance to your pumpkins with this doily stenciling technique. Begin by cutting your paper doilies into smaller sections if needed. Arrange the doilies on your pumpkin, securing them with tape. Make sure the edges are pressed down firmly to prevent paint from seeping underneath.
In a well-ventilated area, lightly spray paint over the doilies. Allow the paint to dry completely before carefully removing the doilies to reveal the intricate lace-like pattern underneath. For a more subtle effect, choose a paint color similar to your pumpkin’s natural hue. For bolder contrast, opt for metallic or bright colors against a lighter pumpkin.
Related Guide: 35 Creative Home Halloween Decor Ideas
21. Mosaic Pumpkins
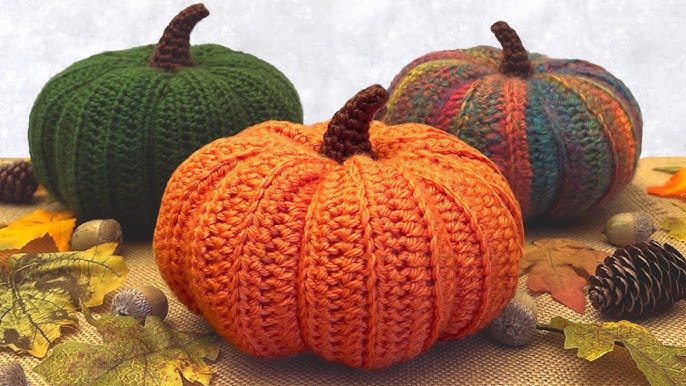
Materials Needed:
- Pumpkins (real or artificial)
- Colored glass mosaic tiles
- Tile adhesive
- Grout
- Sponge
- Gloves
Transform your pumpkins into dazzling mosaic art pieces with this technique. Start by applying tile adhesive to a small section of your pumpkin. Begin placing your mosaic tiles onto the adhesive, creating patterns or abstract designs as you go. Continue this process, working in small sections, until your pumpkin is covered to your liking.
Allow the adhesive to dry completely, then mix and apply grout over the entire surface, making sure to fill all the gaps between the tiles. Wipe away excess grout with a damp sponge, being careful not to dislodge the tiles. Once the grout is dry, polish the tiles with a soft cloth for a finished look. These mosaic pumpkins catch and reflect light beautifully, adding a touch of sparkle to your fall decor.
22. Zentangle Patterned Pumpkins
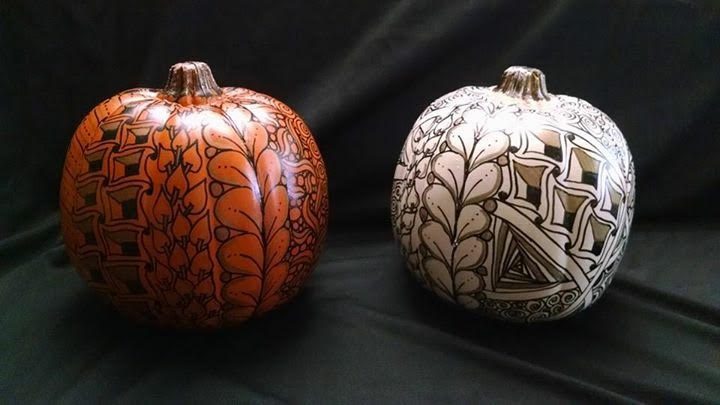
Materials Needed:
- White pumpkins (real or artificial)
- Black permanent markers
- White paint pen (optional)
Embrace your artistic side with these intricately patterned Zentangle pumpkins. Start with a clean, dry white pumpkin for the best contrast. Using black permanent markers, begin drawing various patterns and designs all over the pumpkin’s surface. Zentangle patterns typically consist of repetitive, abstract designs that fit together like a puzzle.
Work your way around the pumpkin, filling in all the spaces with different patterns. For added dimension, you can use a white paint pen to add highlights or create contrast within your designs. The result is a stunning, one-of-a-kind pumpkin that doubles as a piece of art. This is a great project for stress relief and mindfulness during the busy fall season.
23. Fairy Light Pumpkins
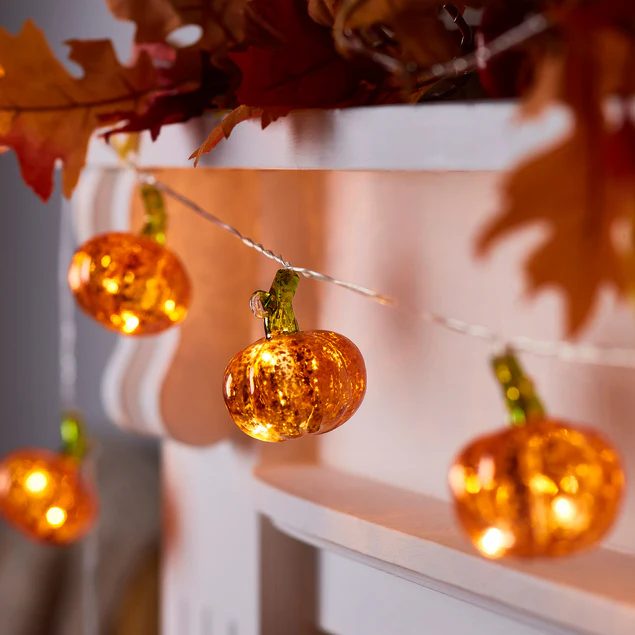
Materials Needed:
- Hollow artificial pumpkins
- Battery-operated fairy lights
- Drill or awl
- Pencil
Create a magical, twinkling display with these fairy light pumpkins. Start by sketching a design on your hollow artificial pumpkin with a pencil. This could be a constellation, a word, or any pattern you like. Using a drill or awl, carefully create small holes along your sketched lines.
Insert the fairy lights into the pumpkin through a larger hole at the bottom or back. Gently push individual lights through the small holes you’ve created until your design is illuminated. These enchanting pumpkins create a warm, cozy ambiance and are perfect for both indoor and outdoor displays. They’re especially magical when arranged in groups of different sizes.
24. Ombre Painted Pumpkins
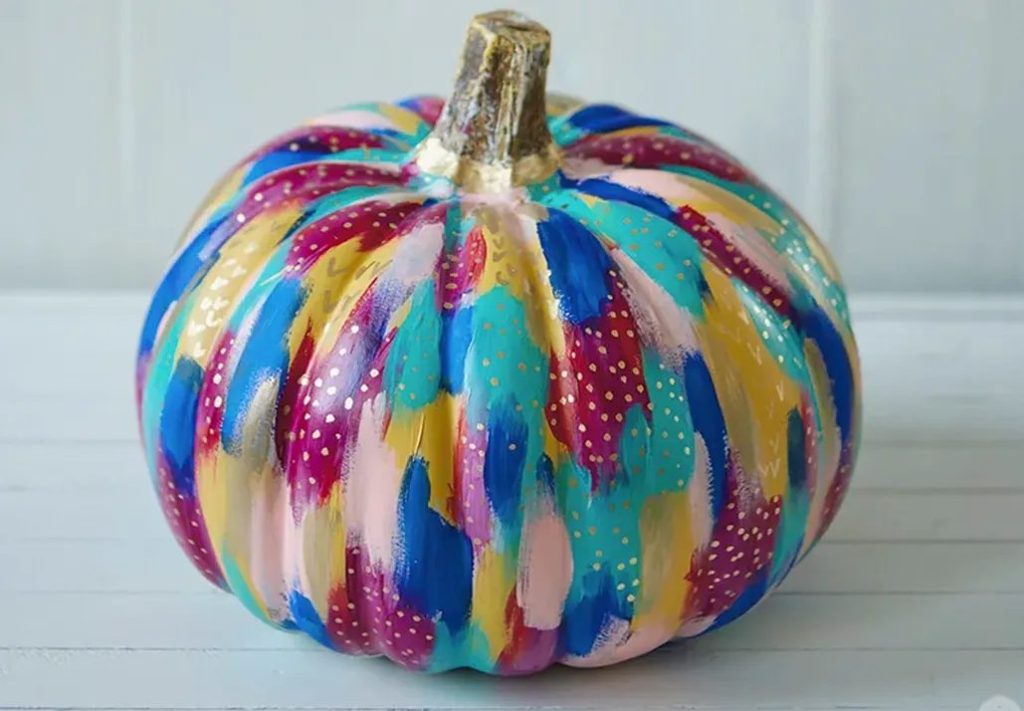
Materials Needed:
- Pumpkins (real or artificial)
- Acrylic paint in gradating shades
- Paintbrushes
- Spray bottle with water
Create a beautiful gradient effect with this ombre painting technique. Choose a color palette with 3-5 shades that transition smoothly from light to dark. Start by painting the entire pumpkin with your lightest shade and allow it to dry completely.
Next, working in sections, apply your darker shades progressively from the bottom up. While the paint is still wet, use a spray bottle to mist the areas where the colors meet. This will help blend the shades together seamlessly. Continue this process, building up the darker shades and blending as you go, until you achieve your desired ombre effect. These pumpkins are perfect for creating a sophisticated, monochromatic fall display.
25. Concrete-Dipped Pumpkins
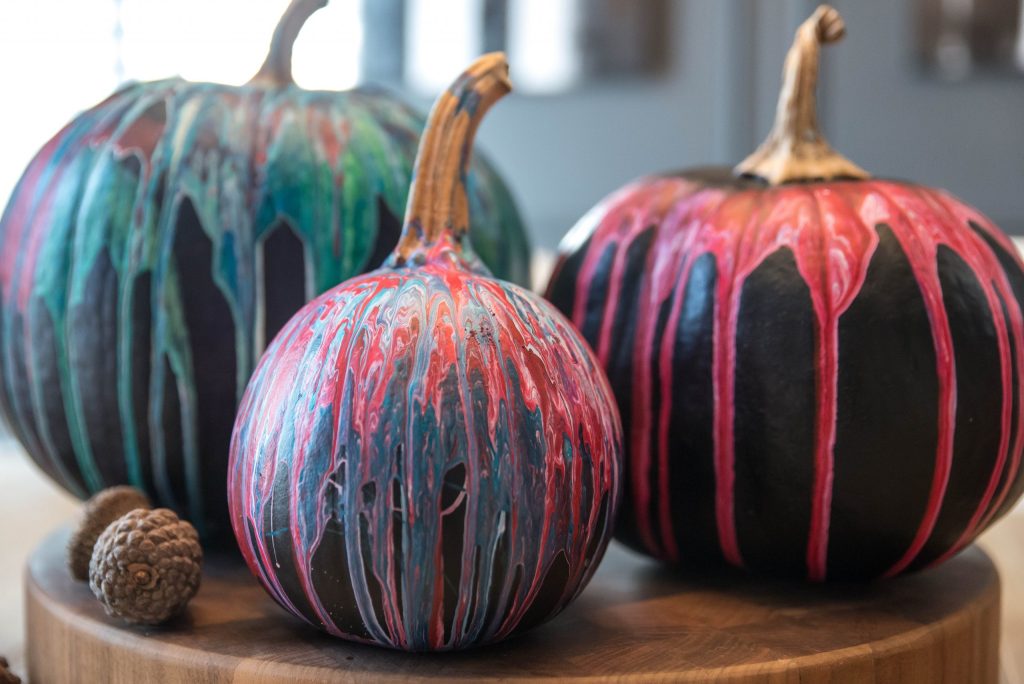
Materials Needed:
- Small pumpkins (real or artificial)
- Concrete mix
- Large bucket
- Water
- Stick for stirring
- Disposable gloves
- Plastic sheet
Add an unexpected industrial chic element to your fall decor with these concrete-dipped pumpkins. Start by preparing your concrete mix in a large bucket according to the package instructions. Put on your gloves and hold a pumpkin by its stem.
Dip the bottom half of the pumpkin into the concrete mixture, then lift it out and allow excess concrete to drip off. Place the pumpkin on a plastic sheet to dry, concrete side down. The concrete will create a unique textured base for your pumpkin. Once completely dry, you can leave the concrete its natural gray color or paint it for added personalization. These modern pumpkins make striking centerpieces or mantel decorations.
Conclusion
Fall decorating has never been more fun or versatile than with these 25 DIY pumpkin decor ideas. From glamorous glitter and shimmering metallics to rustic fabrics and natural elements, there’s a pumpkin decorating technique to suit every style and skill level.
These projects offer a wonderful opportunity to get creative, express your personal style, and infuse your home with the warm, cozy spirit of autumn.
Whether you’re preparing for a Halloween party, setting the scene for Thanksgiving dinner, or simply want to embrace the beauty of the season, these decorated pumpkins are sure to add charm and character to your space.
So gather your supplies, let your imagination run wild, and enjoy the process of transforming simple pumpkins into stunning works of art that will delight family and guests alike.

