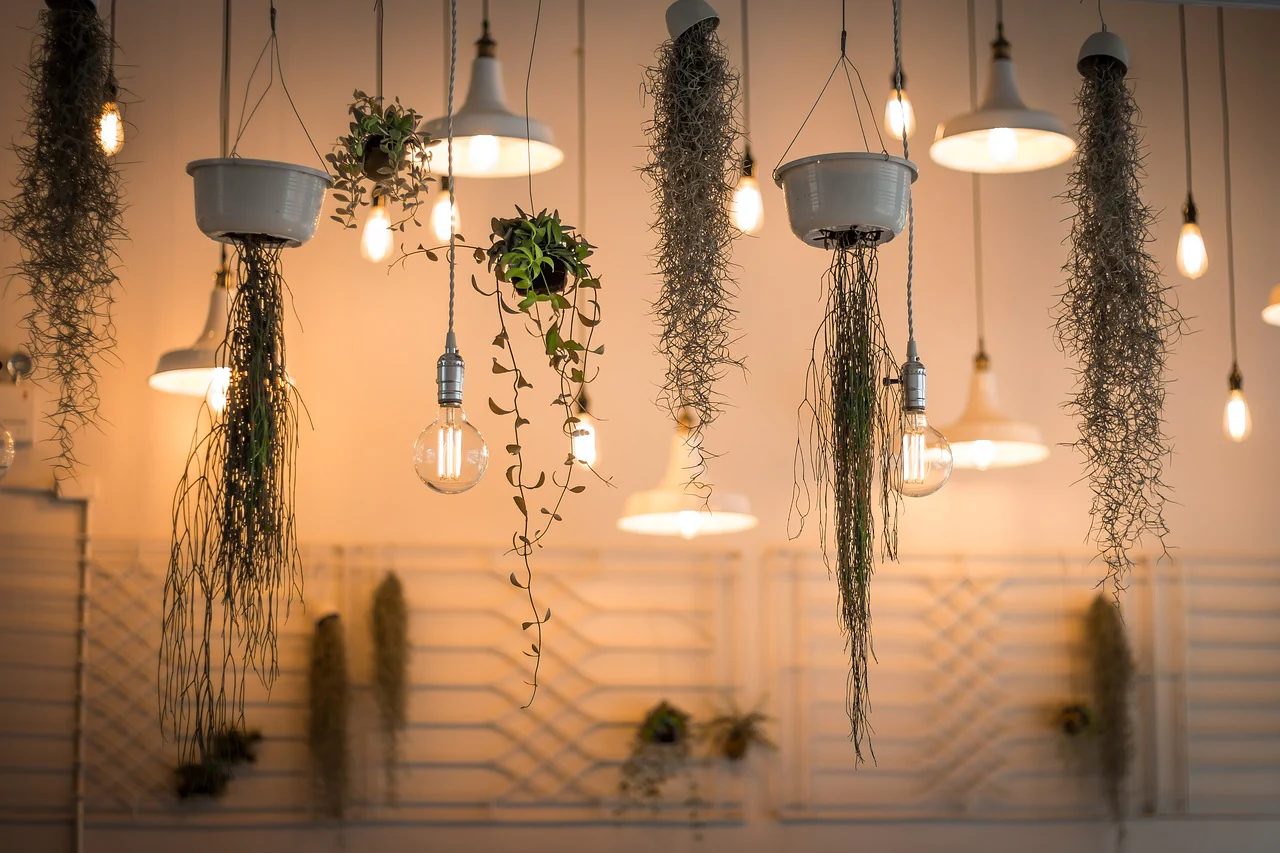
Lighting is a crucial element in interior design, as it not only illuminates a space but also sets the mood, enhances the ambiance, and highlights specific features. A well-designed lighting plan can transform a room, making it feel more inviting, cozy, and visually appealing.
However, creating a layered lighting plan for each room can be a daunting task, especially for those new to the world of interior design.
Steps to Create a Layered Lighting Plan for Each Room
In this comprehensive article, we’ll guide you through 10 steps to create a layered lighting plan for every room in your home.
By the end of this article, you’ll have a better understanding of how to incorporate different types of lighting to achieve the perfect balance and create a harmonious, functional, and visually stunning space.
Step 1: Assess the Room’s Purpose and Needs
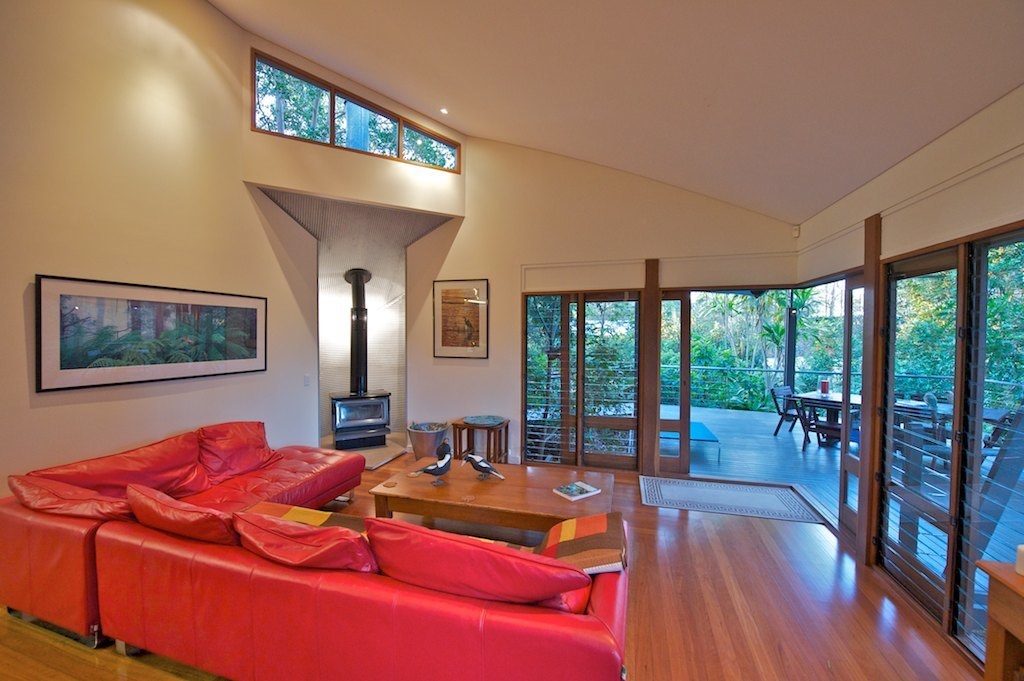
The first step in creating a layered lighting plan is to assess the room’s purpose and lighting needs. Consider the activities that will take place in the space, the overall ambiance you want to create, and the specific areas that require focused illumination.
For example, a living room may need a combination of ambient, task, and accent lighting to cater to various activities, such as reading, conversation, and TV viewing. On the other hand, a home office might require more task-oriented lighting to support productivity and reduce eye strain.
By understanding the room’s purpose and specific needs, you can make informed decisions about the types of lighting fixtures and their placement.
Related Guide: 30 Creative Ways to Display Travel Souvenirs on Walls
Step 2: Identify the Different Layers of Lighting
The foundation of a layered lighting plan is the understanding of the three main types of lighting:
Ambient Lighting
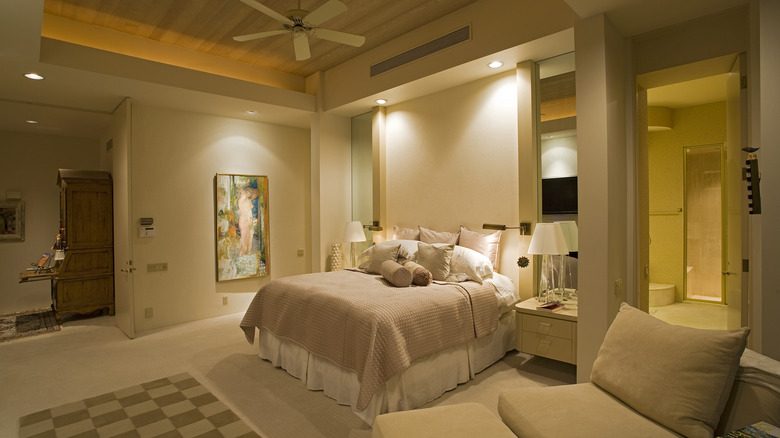
Ambient lighting is the overall, general illumination that fills a room. It provides a broad and even distribution of light, creating a comfortable and inviting atmosphere. Common sources of ambient lighting include ceiling-mounted fixtures, such as chandeliers, pendant lights, or recessed lighting.
Task Lighting

Task lighting is designed to provide focused illumination for specific activities, such as reading, cooking, or working. It helps reduce eye strain and improves visibility in areas where concentrated light is required. Examples of task lighting include table lamps, under-cabinet lighting, and adjustable sconces.
Accent Lighting
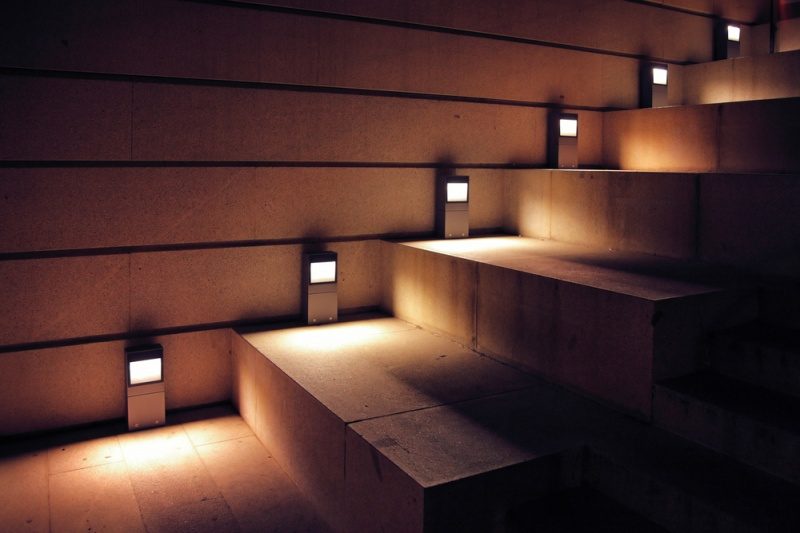
Accent lighting is used to highlight architectural features, artwork, or other focal points within a room. It draws the eye to specific areas and can create a sense of drama and depth. Typical accent lighting sources include track lighting, wall-mounted spotlights, and uplighting.
Tip: Understanding the role of each lighting layer will help you create a cohesive and well-balanced lighting plan.
Step 3: Determine the Appropriate Lighting Fixtures
Once you have identified the different lighting layers, it’s time to select the appropriate fixtures for each layer. Consider the size and layout of the room, the desired mood and ambiance, and the available power sources.
Ambient Lighting Fixtures
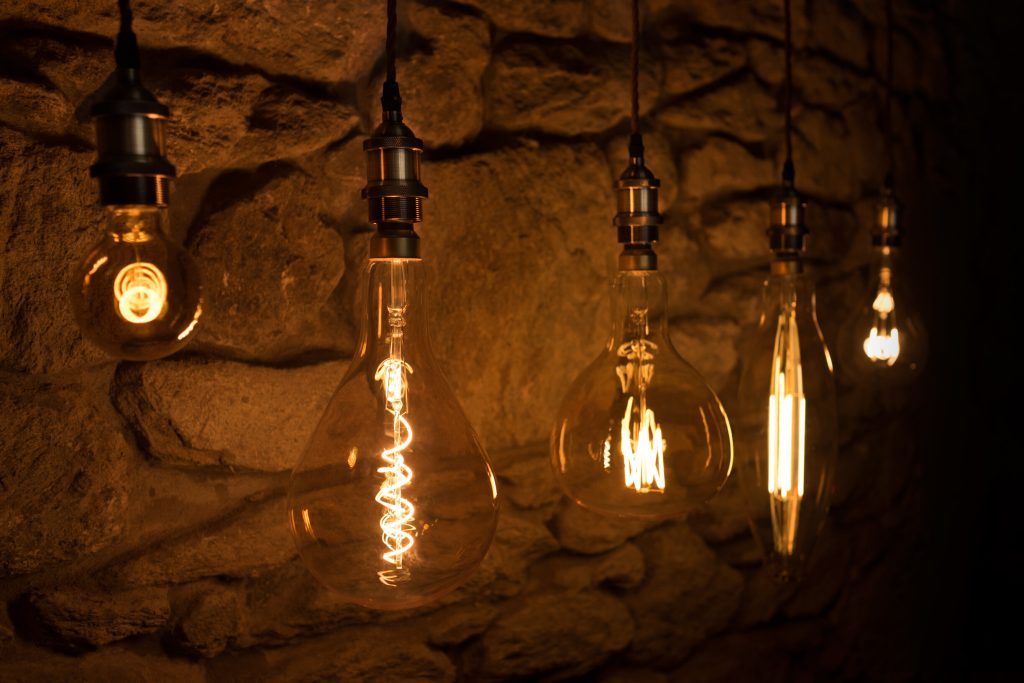
For ambient lighting, choose fixtures that provide a broad and even distribution of light. Ceiling-mounted fixtures, such as chandeliers, pendants, or recessed lighting, are excellent options. The size and style of the fixture should be proportional to the size of the room and complement the overall design aesthetic.
Task Lighting Fixtures

Task lighting fixtures should be positioned to provide focused illumination for specific activities. Examples include table lamps, floor lamps, under-cabinet lighting, and adjustable wall sconces. These fixtures should be placed strategically to avoid glare and ensure adequate visibility.
Accent Lighting Fixtures
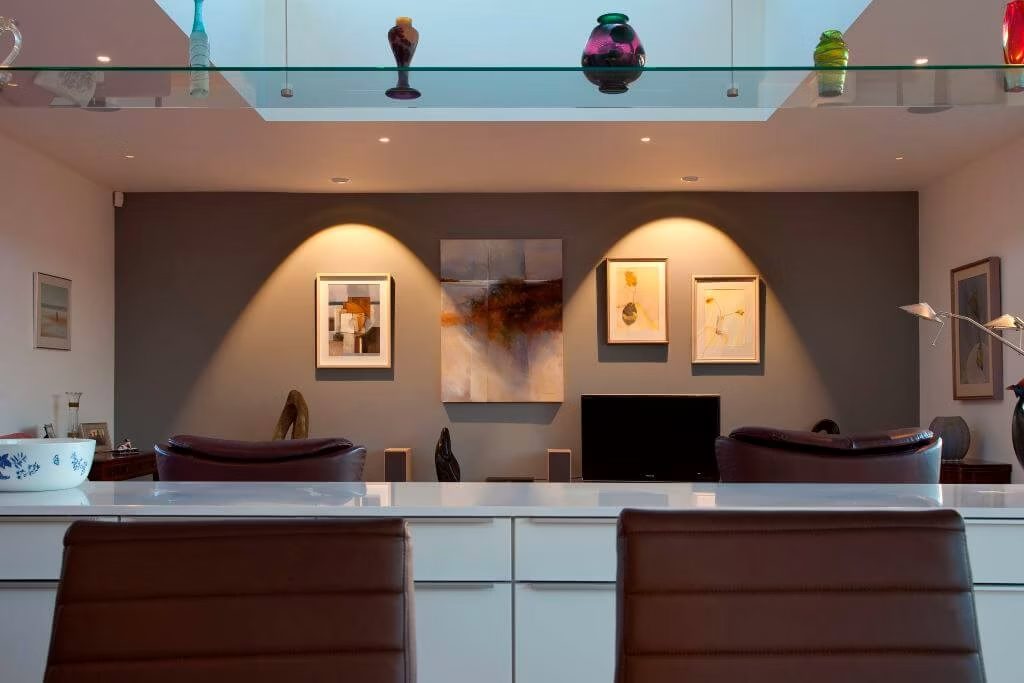
Accent lighting fixtures are used to highlight specific areas or features within the room. These can include track lighting, adjustable wall-mounted spotlights, or uplighting. Carefully consider the placement and direction of the accent lighting to create a visually captivating and cohesive design.
Keep in Mind: When selecting lighting fixtures, pay attention to the color temperature, brightness, and energy efficiency to ensure that the overall lighting plan is harmonious and sustainable.
Step 4: Plan the Placement of Lighting Fixtures
The placement of lighting fixtures is crucial in creating a layered lighting plan. Start by considering the room’s layout and the different activities that will take place within the space.
Ambient Lighting Placement
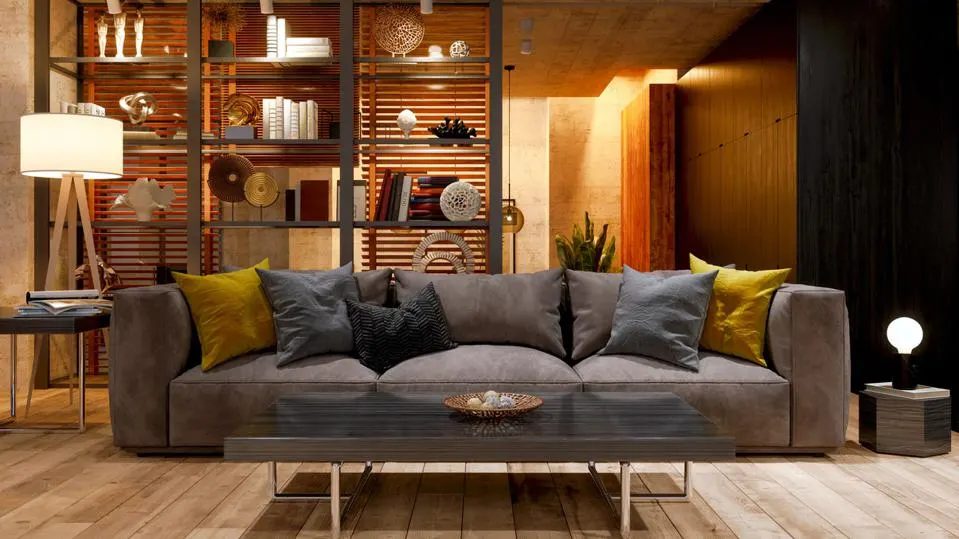
Ambient lighting fixtures should be placed to provide an even distribution of light throughout the room. Ceiling-mounted fixtures, such as chandeliers or recessed lighting, are typically the best options for ambient lighting. Position them to ensure that the light is dispersed evenly, avoiding dark corners or unlit areas.
Task Lighting Placement

Task lighting fixtures should be placed in areas where focused illumination is needed, such as over a work surface, reading nook, or vanity. Position them at the appropriate height and angle to provide the necessary light without causing glare or shadows.
Accent Lighting Placement
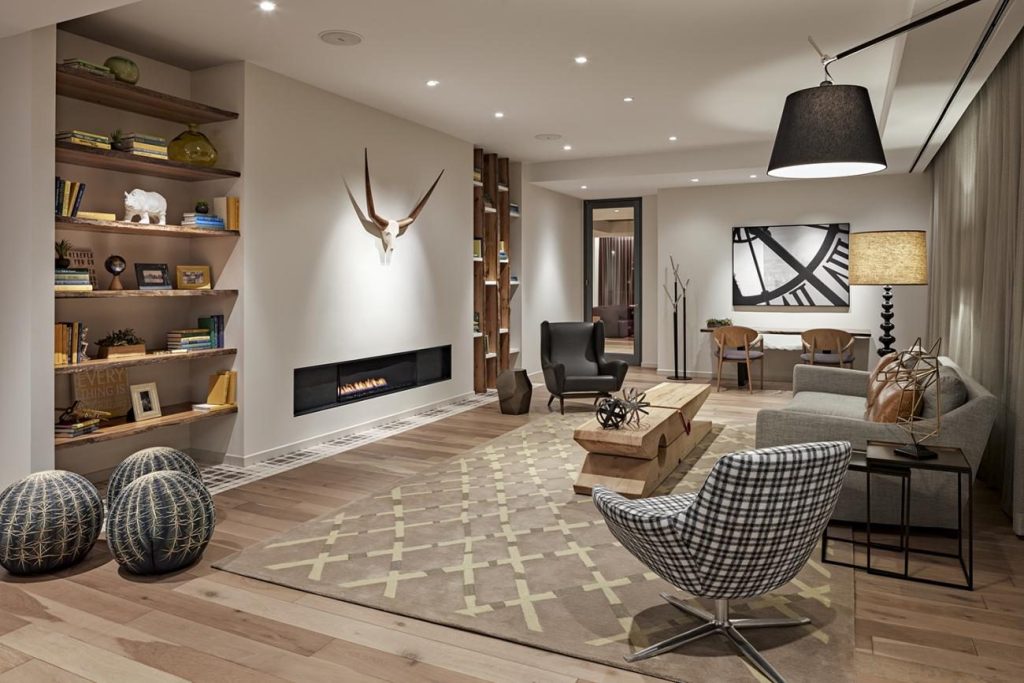
Accent lighting should be used to highlight specific features, such as artwork, architectural details, or architectural features. Place the fixtures strategically to draw the eye to the desired focal points, and consider the direction and intensity of the light to create the desired effect.
Note: When planning the placement of lighting fixtures, keep in mind the room’s overall layout, furniture arrangement, and any potential obstructions or shadows that may affect the lighting.
Step 5: Incorporate Dimmable Lighting

Dimmable lighting is a crucial component of a layered lighting plan, as it allows you to adjust the brightness and create different moods and ambiances within a room. By incorporating dimmable lighting, you can easily transition between task-oriented lighting and a more relaxed, atmospheric setting.
When selecting lighting fixtures, look for those that are compatible with dimmers. This will give you the flexibility to control the light levels and create the desired ambiance, whether you’re entertaining guests, relaxing, or performing specific tasks.
Step 6: Consider Natural Lighting
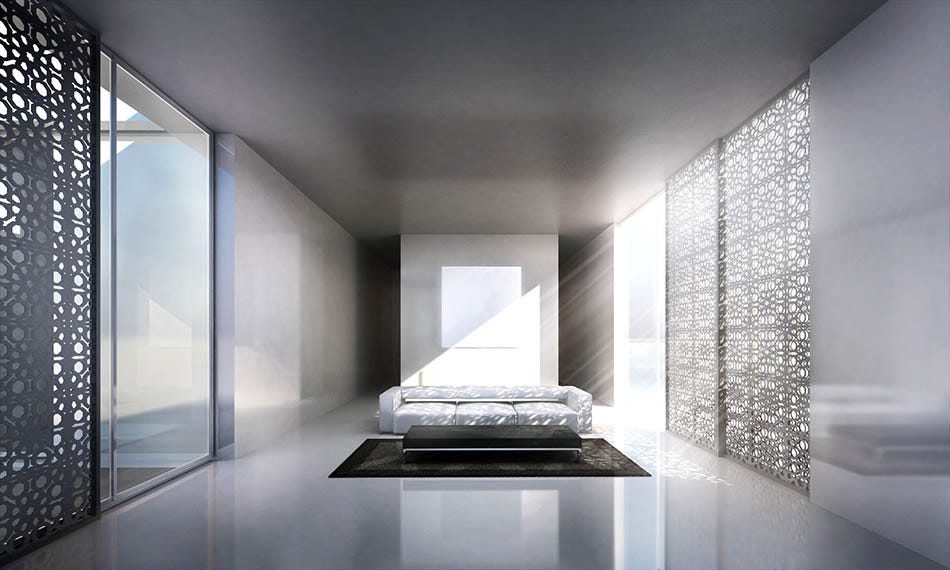
Natural lighting is an essential element in any layered lighting plan. Evaluate the room’s access to natural light and consider ways to maximize it. This could include strategically placing mirrors to reflect natural light, using sheer window treatments to diffuse the light, or positioning furniture to take advantage of the natural illumination.
By incorporating natural lighting, you can reduce the need for artificial lighting during the day, create a more inviting and energizing atmosphere, and potentially save on energy costs.
Step 7: Utilize Multiple Lighting Zones
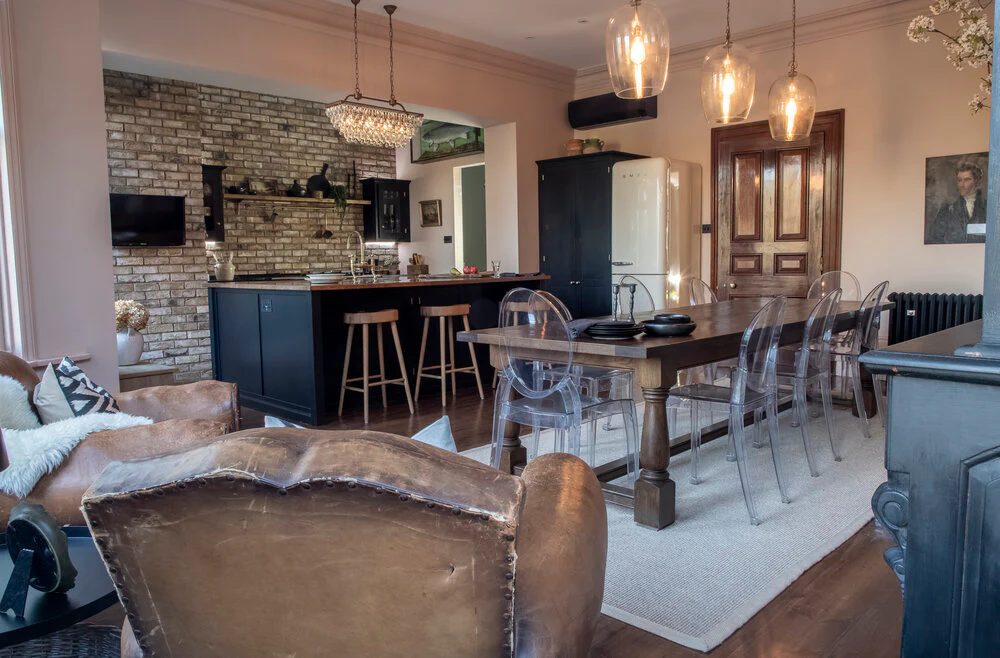
Dividing a room into multiple lighting zones can help you create a more versatile and tailored lighting plan. By having different switches or controls for various lighting fixtures, you can adjust the light levels and create different moods and atmospheres within the same space.
For example, in a living room, you might have a central ambient lighting zone, task lighting zones for reading or conversation areas, and accent lighting zones to highlight specific architectural features or artwork.
Additional Tip: By creating multiple lighting zones, you can cater to the specific needs and activities within a room, allowing you to optimize the lighting for different scenarios.
Step 8: Incorporate Decorative Lighting
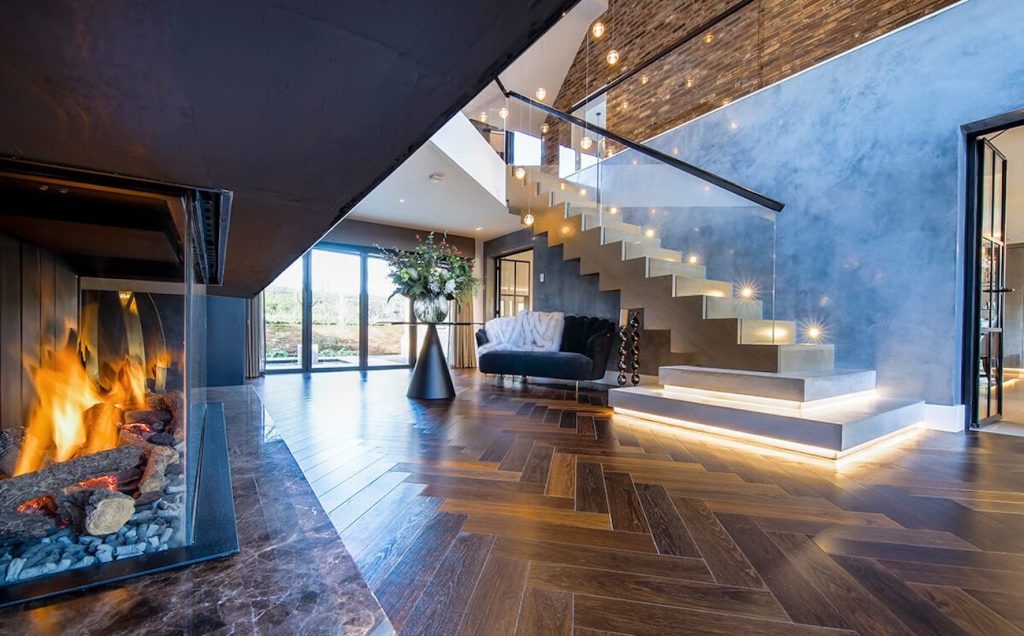
In addition to functional lighting, decorative lighting can add a touch of elegance and personality to a room. Consider incorporating decorative lighting elements, such as wall sconces, table lamps, or pendant lights, to enhance the overall aesthetic and create visual interest.
Decorative lighting fixtures can serve as both functional and aesthetic elements, complementing the room’s design and contributing to the overall layered lighting plan.
Related Guide: 25 Ideas for Using Textile Wall Hangings as Alternative Headboards
Step 9: Balance the Lighting Levels
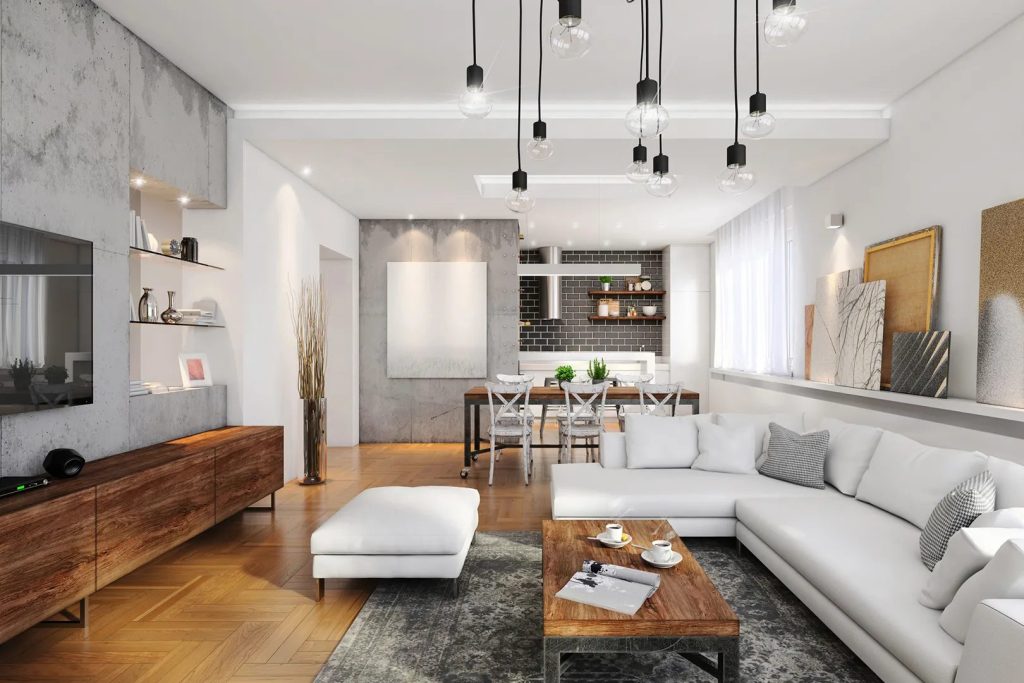
When creating a layered lighting plan, it’s essential to balance the lighting levels throughout the room. Avoid having one area that is overly bright while another is too dark, as this can create an unbalanced and uncomfortable atmosphere.
Use a combination of ambient, task, and accent lighting to achieve a harmonious and well-lit space. Experiment with the brightness and positioning of each lighting layer to ensure that the overall lighting levels are consistent and visually appealing.
Step 10: Adjust and Fine-Tune the Lighting Plan
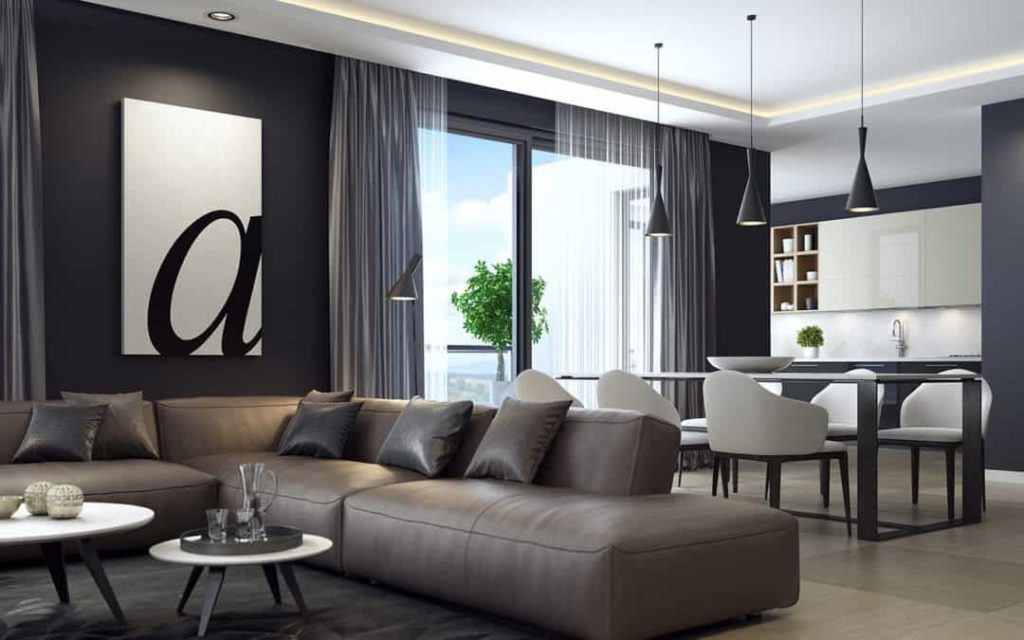
Creating a perfect layered lighting plan may require some trial and error. After implementing the initial plan, take the time to observe the space and make any necessary adjustments. Pay attention to areas that may be too bright or too dark, and make adjustments to the fixture placement, brightness, or the overall balance of the lighting plan.
It’s also important to consider seasonal changes and how they might affect the lighting needs. Adjust the plan accordingly to ensure that the lighting continues to meet your needs and preferences throughout the year.
Conclusion
Creating a layered lighting plan for each room in your home is a crucial step in achieving a cohesive and visually appealing interior design. By following the 10 steps outlined in this article, you can transform your spaces and create a harmonious, functional, and visually stunning environment.
Remember, the key to a successful layered lighting plan is to balance the different types of lighting, consider the room’s purpose and needs, and continuously fine-tune the plan to ensure that it meets your evolving requirements. With a well-designed lighting plan, you can enhance the ambiance, highlight specific features, and create a truly inviting and comfortable living space.

